
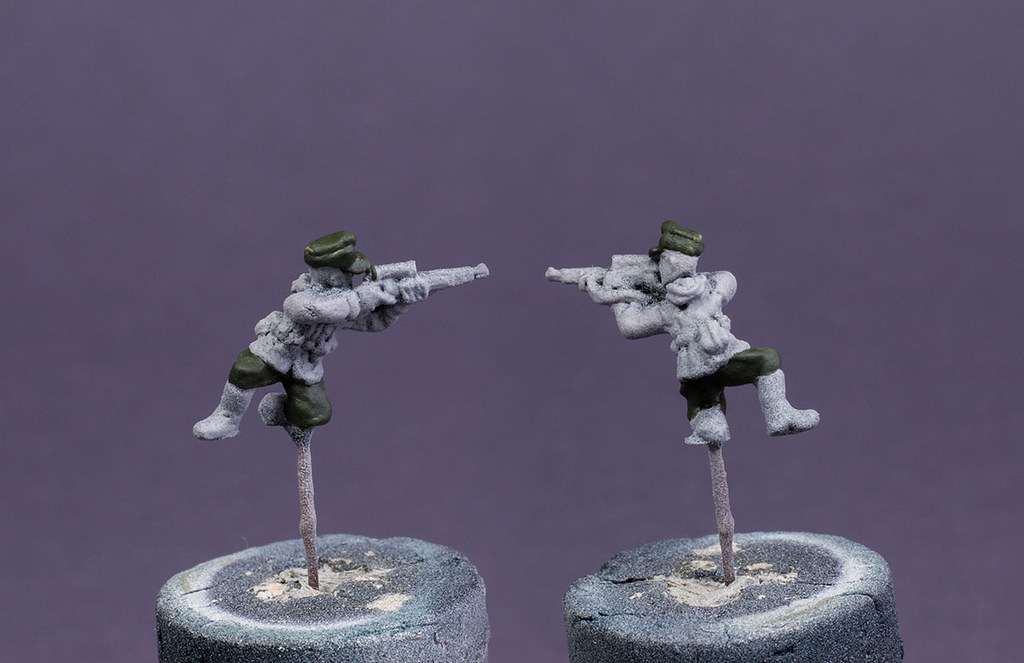
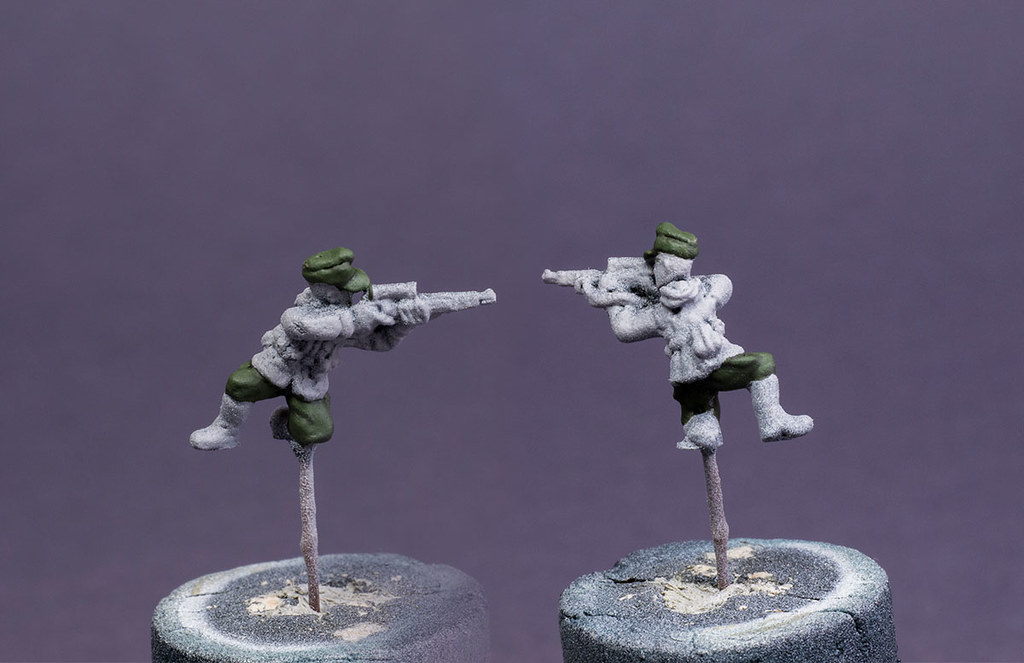
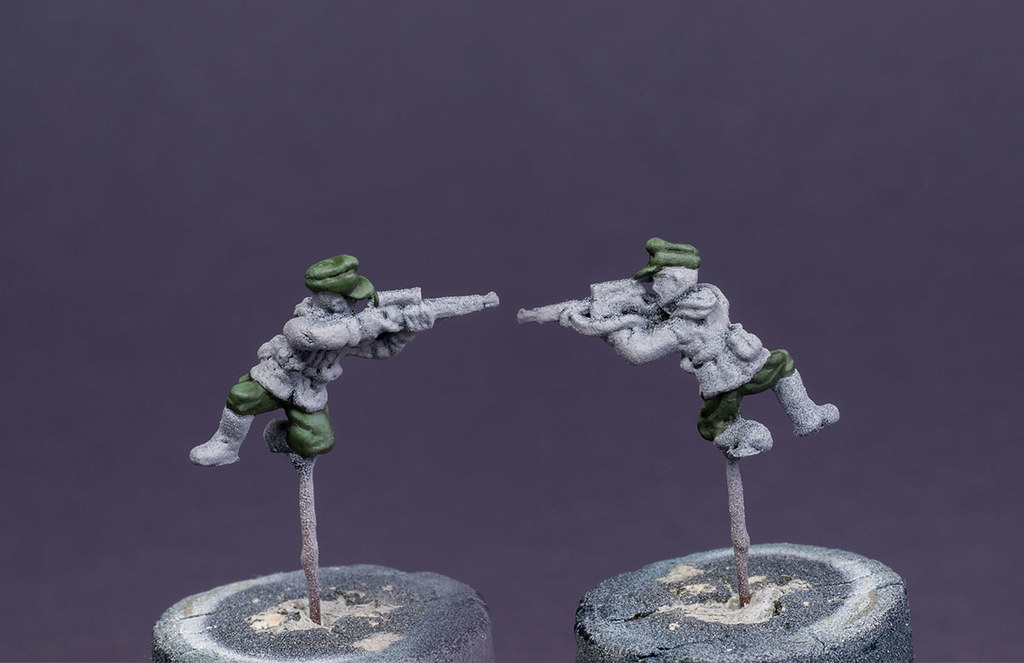
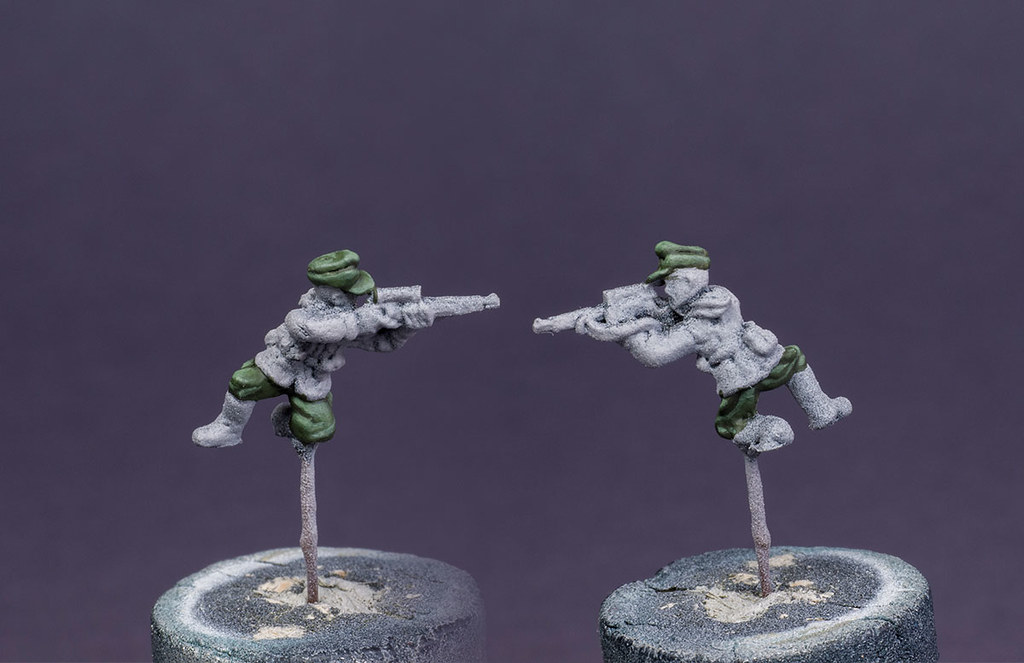
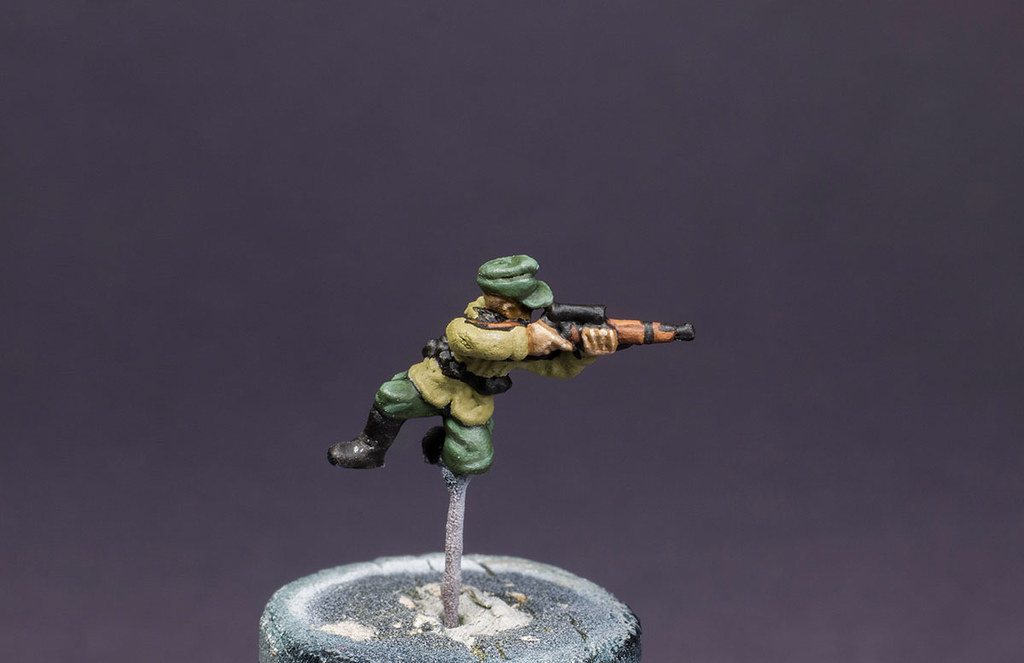
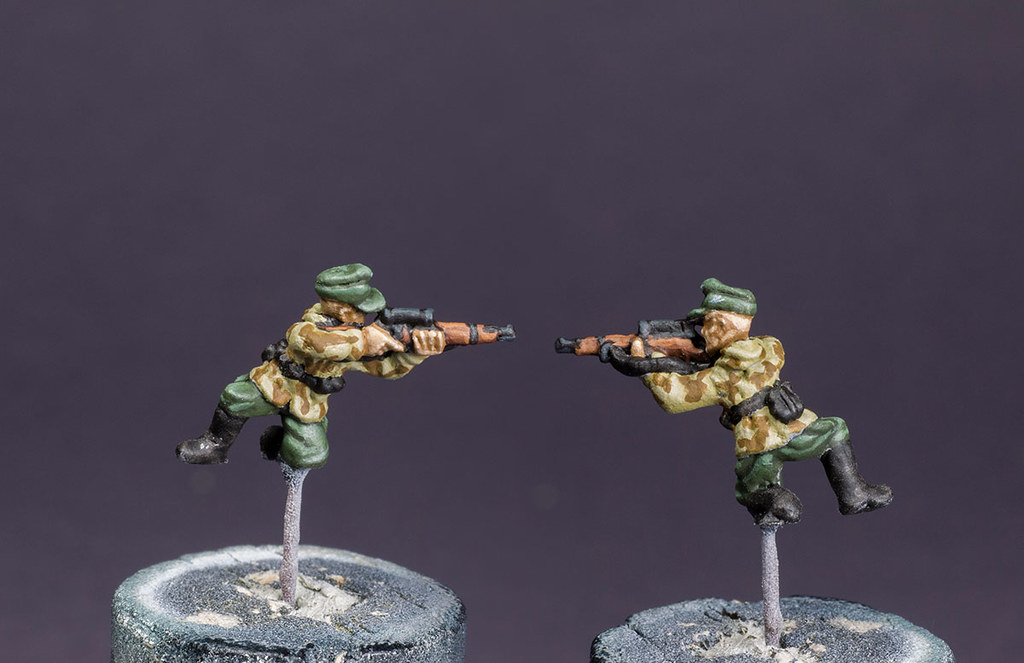
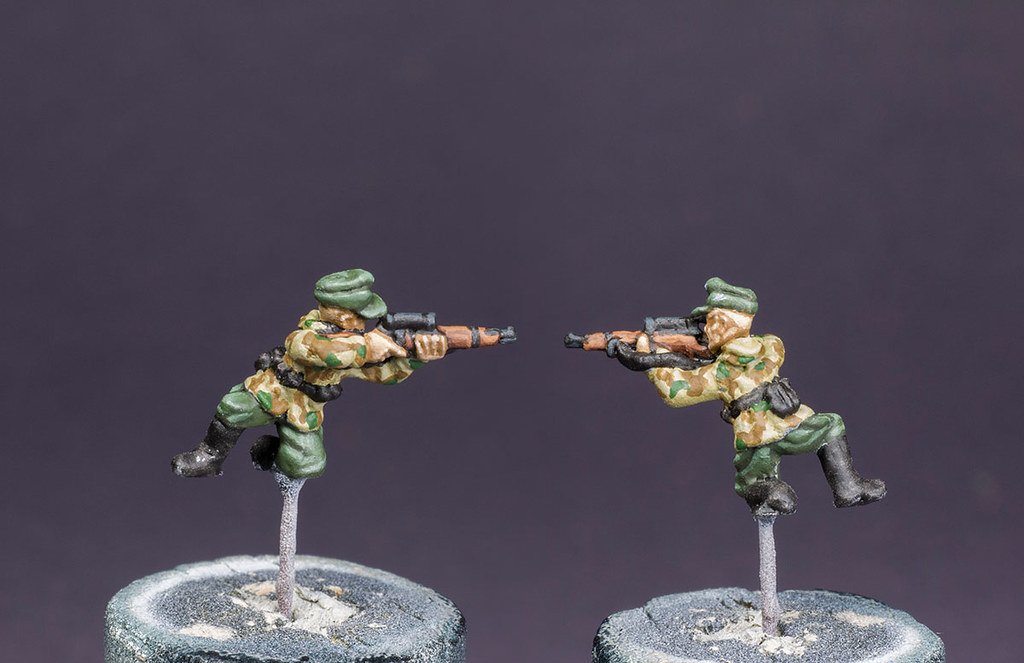
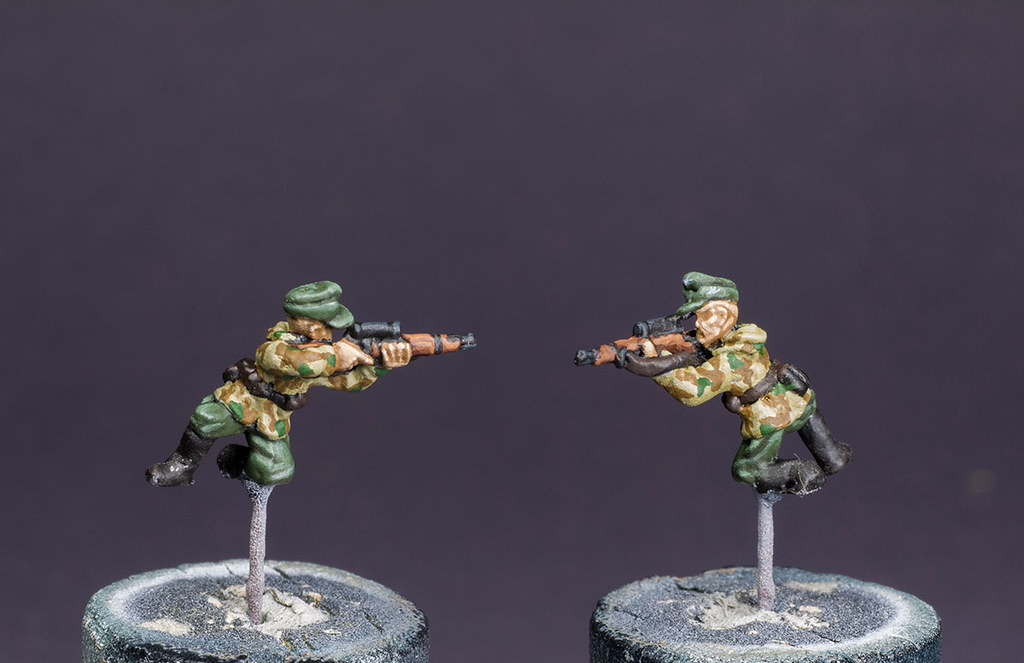
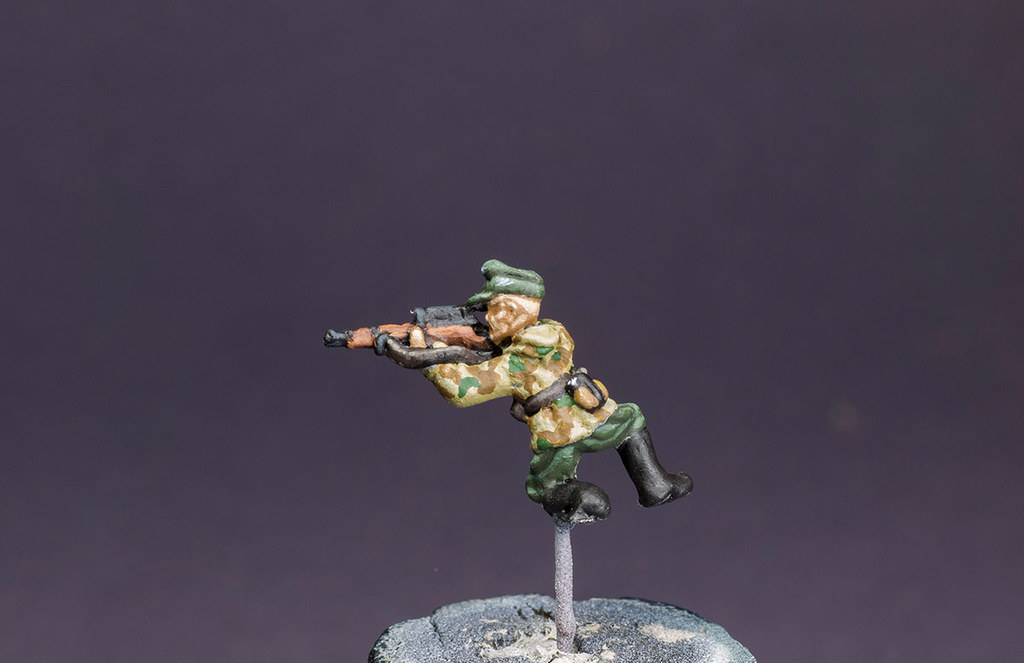
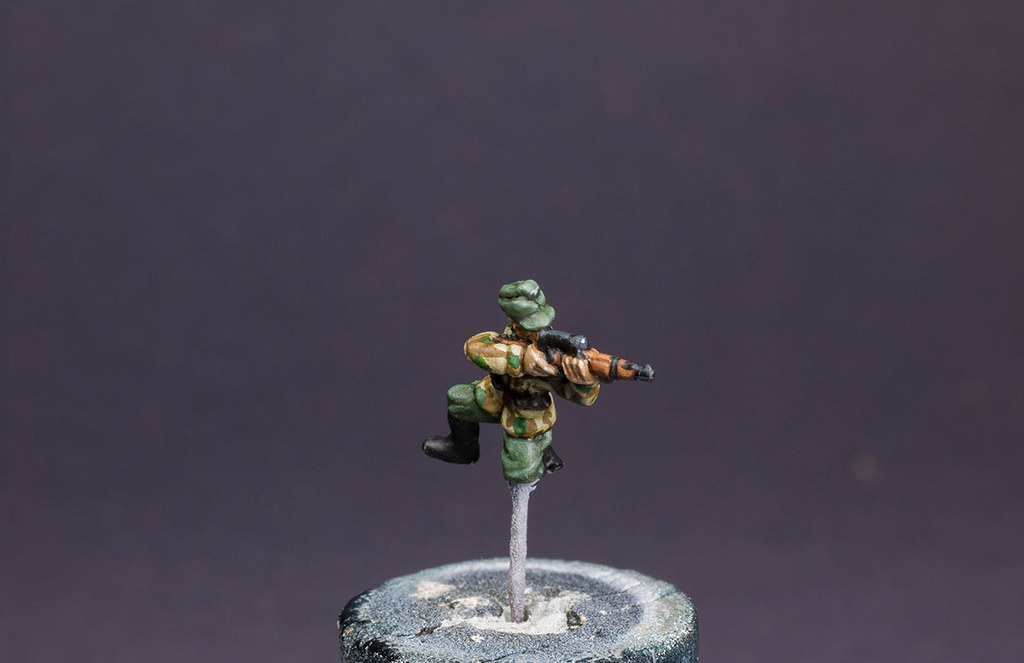
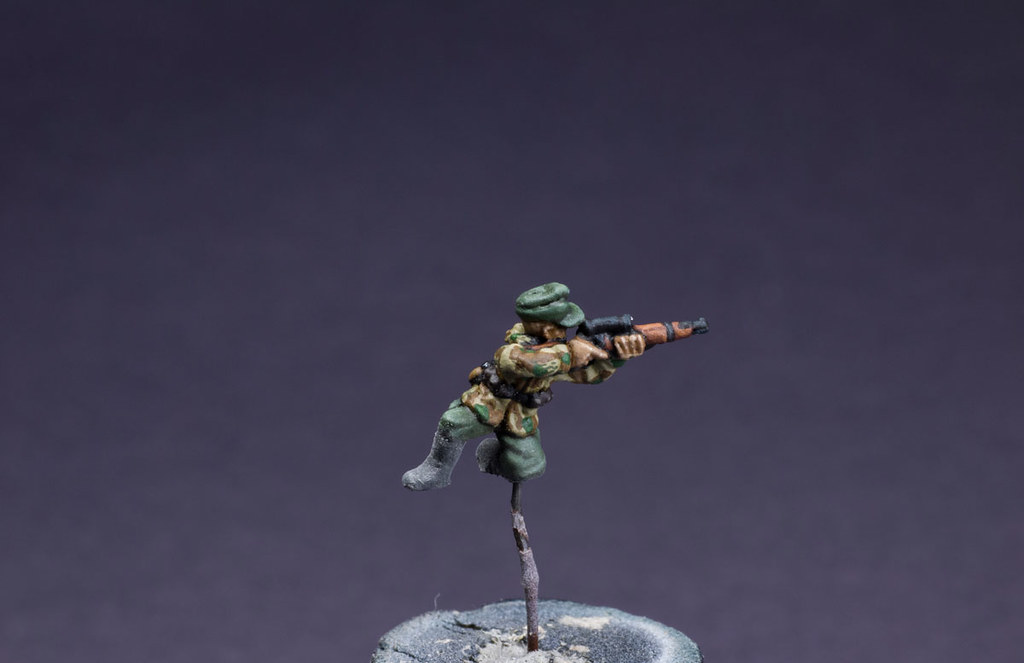
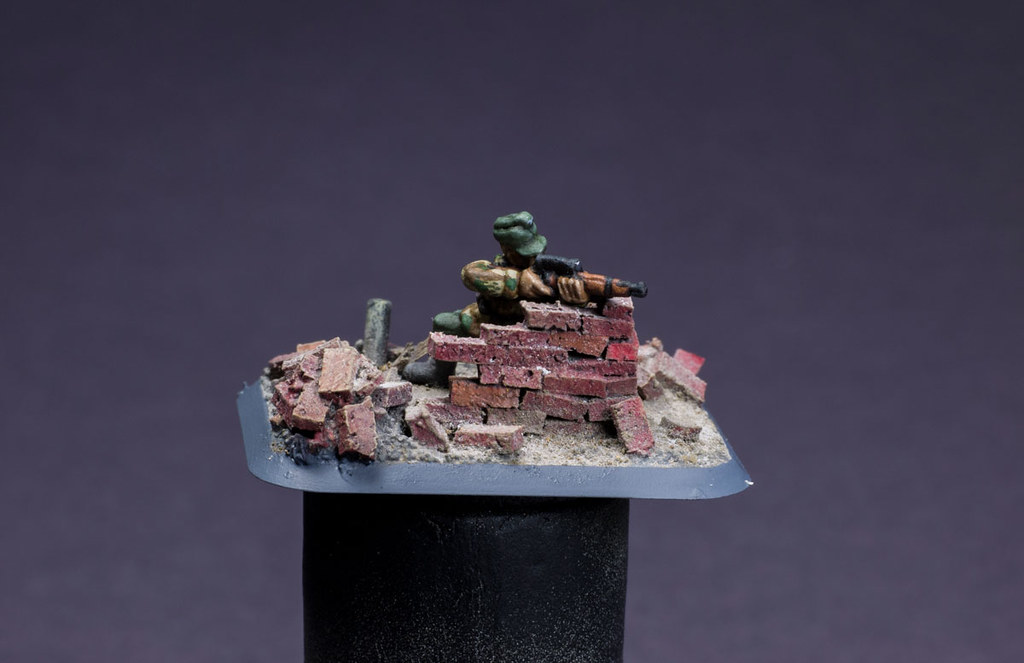
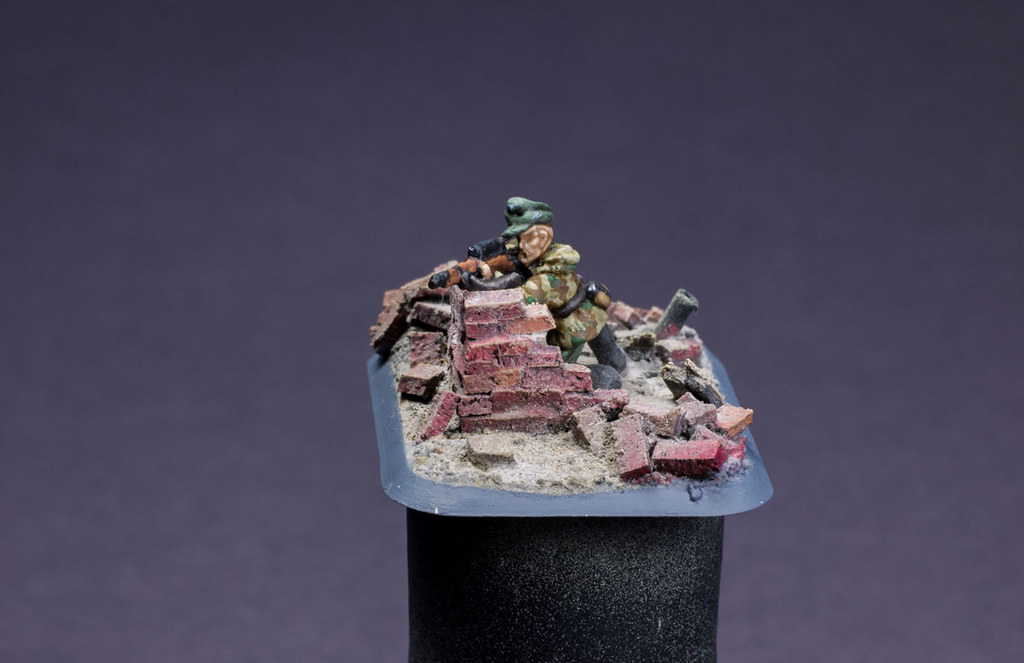
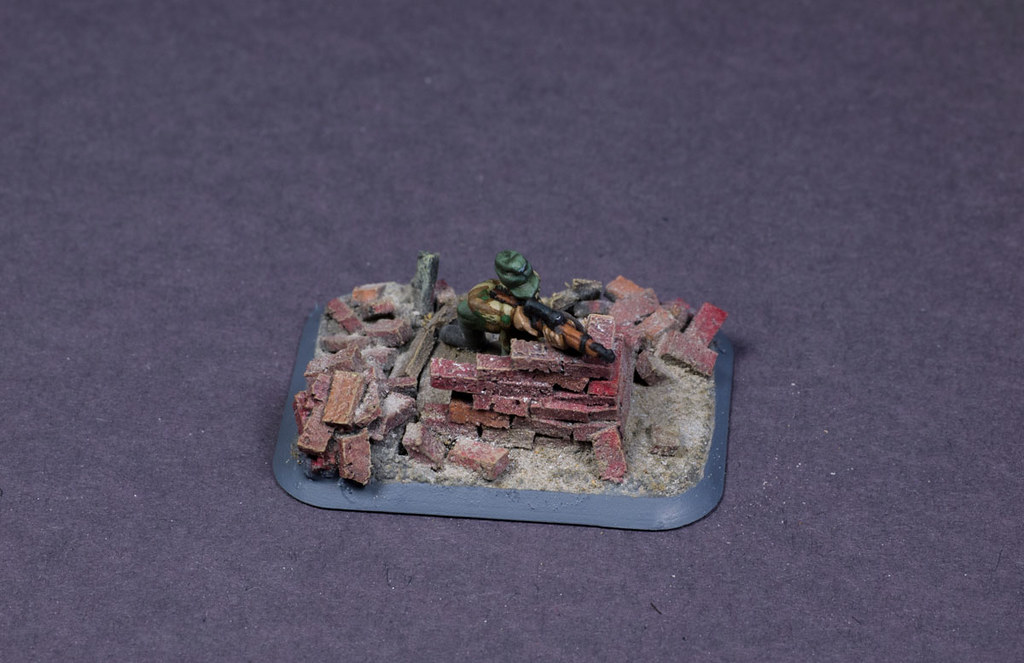
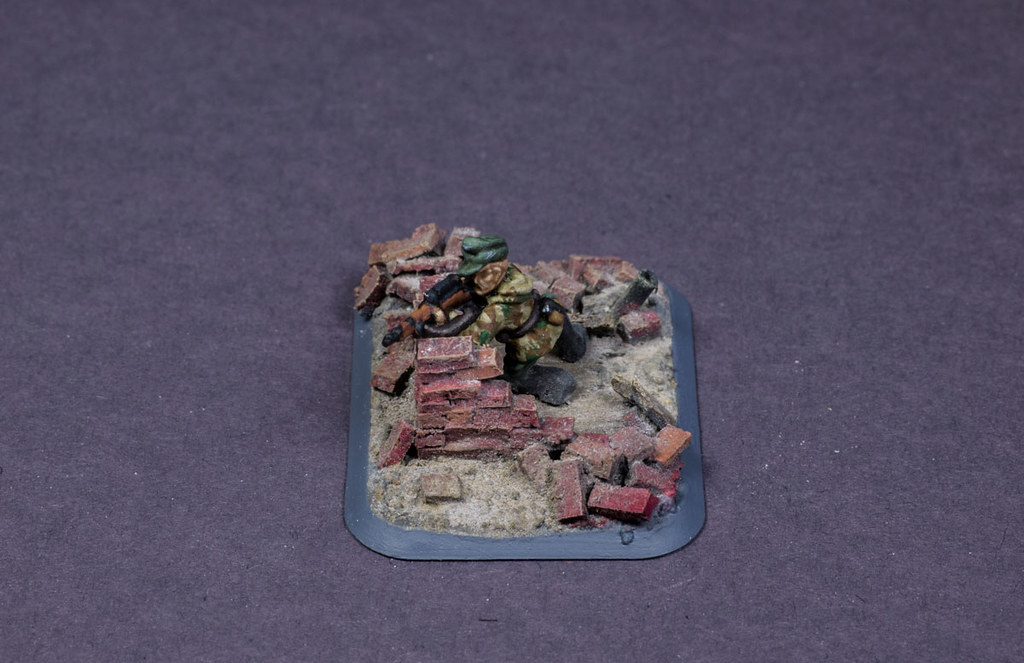
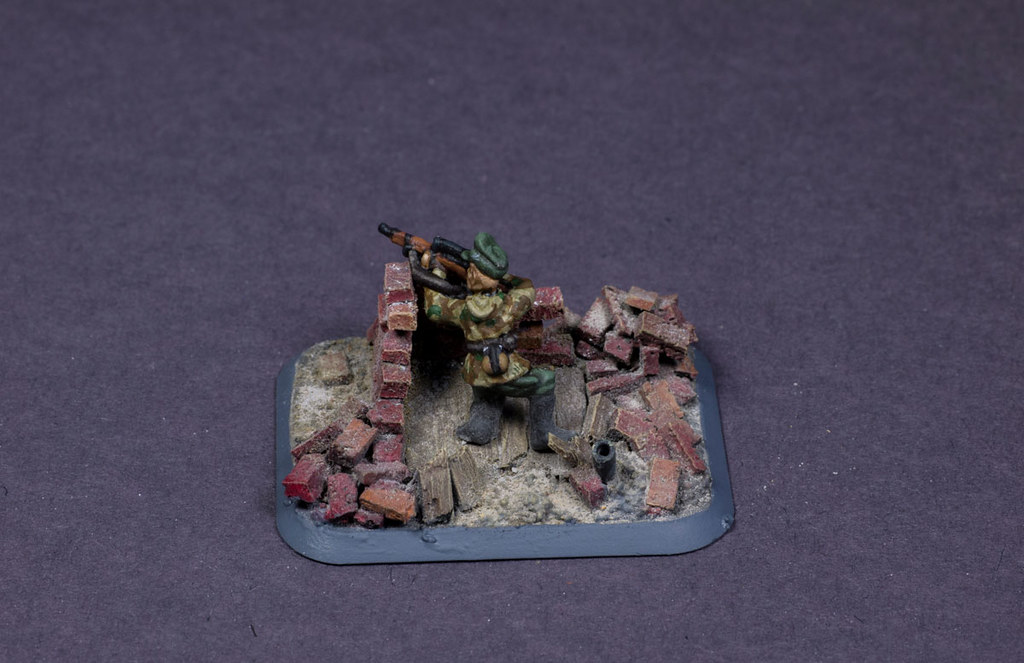
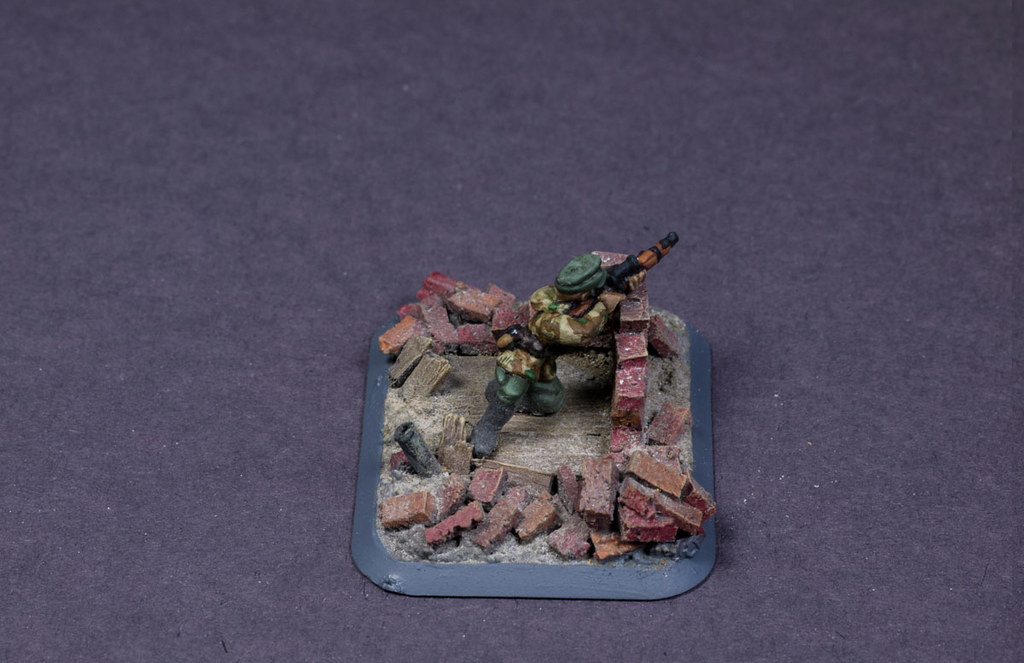
Painting Major Bruno König
Willkommen zu meinem ersten WW2 Tutorial für Flames of War auf diesem Blog. Mit den bevorstehenden Erscheinungen für die Mid War Ostfront beschloss ich einige Tutorials anzufertigen. Den Anfang macht Major Bruno König. Er war ein besonderer Charakter/Held im alten Eastern Front Quellenbuch. Daher investierte ich auch etwas mehr Zeit und Farbe für dieses Modell. Die kommenden Tutorials werden dann wieder etwas kürzer und einfacher, versprochen. Diese werden unter anderem das Bemalen von Feldgrau, Waffen-SS, russische Scharfschützen und russische Infanterie behandeln. Vielleicht werde ich auch einen Guide für urbane Bases (hinterlasst mir doch ein Kommentar zur Base von Major König) sowie verschiedene Panzer.
Welcome to the my first WW2 tutorial for Flames of War on this blog. With the upcoming releases for the Mid War Eastern Front I decided to write a few tutorials. The first one will be, how to paint Major Bruno König. He was a special sniper character in the old Eastern Front supplement. That’s why I spend a bit more time, paint and layers on this miniature. The upcoming tutorials will be easier, I promise. They will be about how to paint Feldgrau(there are a lot of ways to do this), Waffen-SS, Russian sniper and Russian Infantry tutorial. May be I can make some tutorials about urban bases (leave me a comment what you think about Major Bruno’s base) and for different tanks (Russian and German).
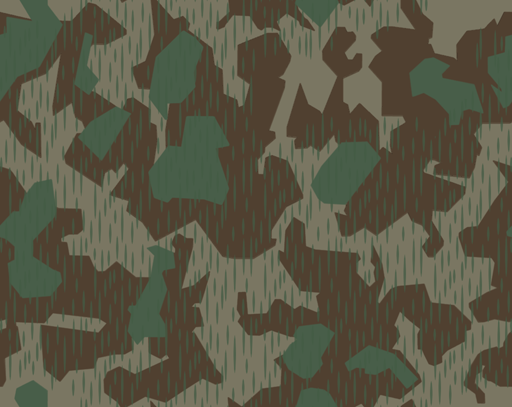
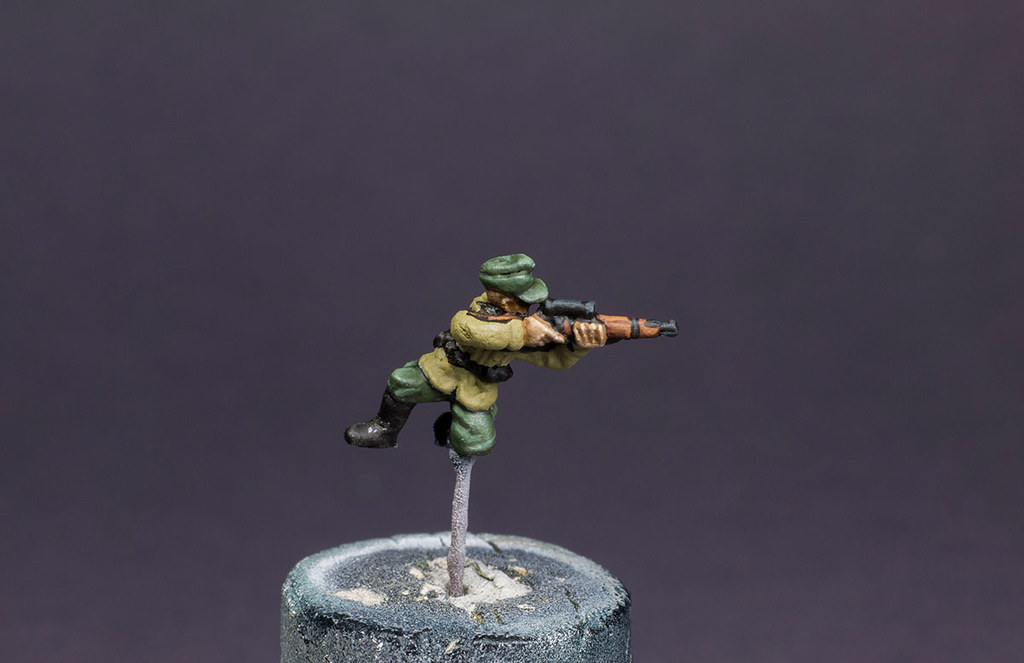
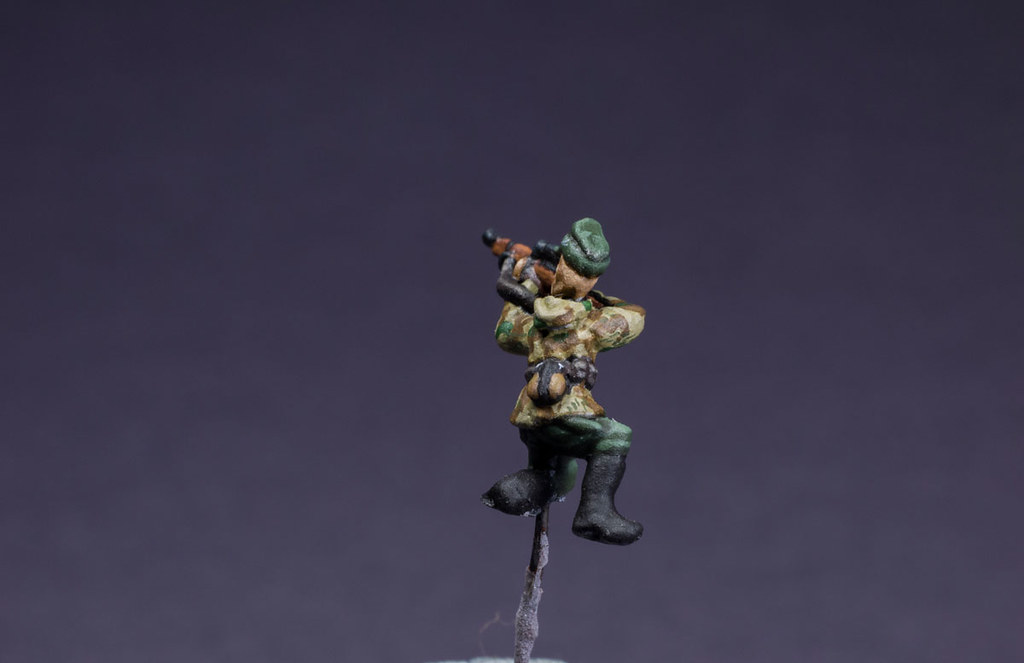
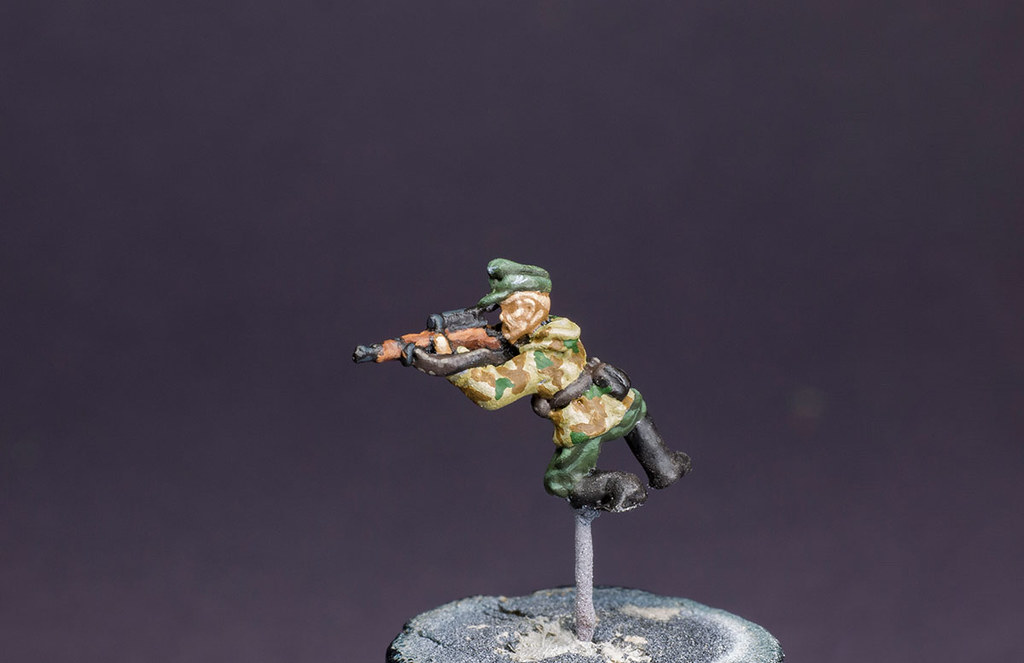
Hier haben wir ein Beispiel dafür, wie die Splittertarnung aussah. Ursprünglich war es als Buntfarbendruck bekannt und soweit ich weiß, korrigiert mich wenn ich falsch liege, benutzten die Deutschen den Begriff Splittertarn nicht. Es wurde an die regulären Einheiten der Wehrmacht ausgegeben, in erster Linie als Zeltbahn. Es ist ein unregelmäßiges scharfeckiges Zickzack-Muster in Braun und Grün. Des Weiteren wurde unregelmäßig verteilte, jedoch in eine Richtung weisende, gestrichelte Linien (Grashalme) über den Hauptprint gedruckt.
Here we have an example what the “Splittertarn” (splinter pattern) looks like. In German it was known as “Buntfarbendruck” (colorful print) and afaik the Germans never used the term Splittertarn. It was issued to the regular Wehrmacht troops. The pattern consists of a disruptive, zig-zag pattern of hard-edged wood-brown and medium green polygons printed on a light field-grey or tan background. Furthermore were directional, dark-green dashed lines (“grass” or “raindrops”) printed in selected areas.
Aber beginnen wir mit dem Bemalen der Miniatur. Wie schon erwähnt, bereitet euch darauf vor, dass es länger wird.
But lets start with painting the miniature. As I said, get ready for a few more steps than in my previous tutorials.

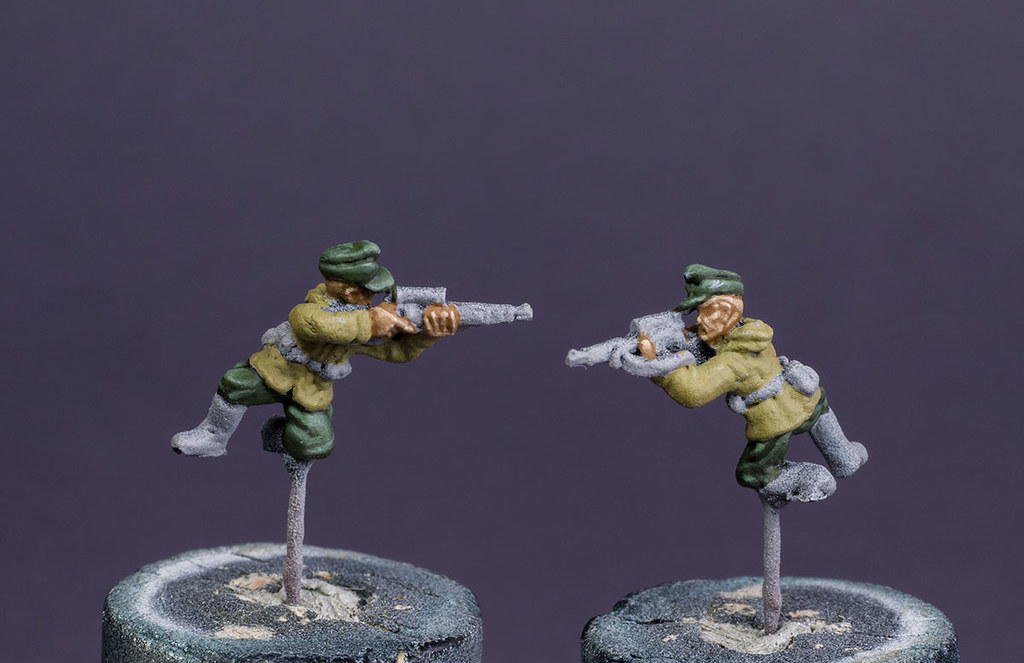
Step 00
Ich grundierte die Figur dieses Mal grau, da ich, in einem späteren Schritt, eine helle Farbe auftrage. Man braucht dann einfach weniger Farbschichten. Ich benutzte Vallejo Sprühgrundierung und ich muss leider sagen, es ist leider nicht die Beste auf dem Markt. Citadels Grundierung ist wohl einfach unschlagbar.
I primed the miniature grey this time because I am going to use a bright color later. It is easier to apply those colors on a grey base than on a black one. You are going to need less layers if you do that. I used Vallejo Spray primer and I have to say, that it isn’t the best one on the market. Citadel’s primer is just unbeatable.
Step 01
Die Schattenfarbe für das Feldgrau ist VMC Yellow Olive mit Schwarz (3:1).
The shadow color for the Feldgrau uniform is VMC Yellow Olive + Black (3:1).
Step 02
Die Grundfarbe ist reines VMC Yellow Olive.
The base color is pure VMC Yellow Olive.
Step 03
Unser erstes Highlight ist eine Mischung aus VMC Yellow Olive und VMC Pastel Green im Verhältnis 2:1. 1:1 sollte auch gehen.
Our first highlight is a mixture of VMC Yellow Olive and VMC Pastel Green around 2:1. 1:1 should be also okay.
Step 04
Für das zweite Highlight fügte ich etwas mehr VMC Pastel Green der vorherigen Mischung hinzu. Wenn gewünscht kann dieser Schritt wiederholt werden um die höchsten Stellen der Uniform zu akzentuieren. (zweiteres Bild).
For the second highlight add a little bit more VMC Pastel Green to the mixture from the step before. If you want to, you can repeat that step and highlight the highest parts of the uniform.
Step 05
Wenn ihr Details genauso liebt wie ich, dann könnt ihr einen Hoheitsadler und das Skijägerabzeichen auf die Feldmütze malen. Major König aus dem Film “Enemy at the Gates” hatte das Abzeichen ebenfalls.
If you love details as much as I do you can paint the “Hoheitsadler” and the “Skijäger” sign on the “Feldmütze”. Major König from the movie “Enemy at the Gates” got one, too.
Step 06
Als nächstes wird VMC Beige Brown, als Schattenfarbe für die Haut, aufgetragen. Lasst euch nicht verwirren weil auf den Bildern die Jacke bereits grundiert ist. Das muss erst später gemacht werden.
Next we apply VMC Beige Brown as shadow color for the skin. Don’t get confused because I already applied the base color for the jacket. You don’t have to do that.
Step 07
Ich mischte VMC Beige Brown und VMC Flat Flesh 1:1 für die Grundfarbe der Haut. Die Figur ist ziemlich alt und leider etwas detailarm. Daher müssen die meisten Details freihand aufgemalt werden.
I mixed VMC Beige Brown and VMC Flat Flesh 1:1 for the base color of the skin. The miniature is really old and lacks some details on the face. So you have to paint most of the details freehand.
Step 08
Füge einfach etwas mehr Flat Flesh zur Grundfarbe hinzu für das erste Highlight.
Just add more Flat Flesh to the base color for the first highlight.
Step 09
Für die zweite Akzentuierung mischte ich etwas Weiß in meine Hautfarbe. Damit wären die Hautstellen dann auf fertig. Da ich es aber gerne etwas heller mag, wiederholte ich diesen Schritt nochmals mit mehr Weiß in meiner Farbe. Dieses Highlight wird dann zum Beispiel auf die Fingerknöchel aufgetragen (unteres Bild).
For the second highligh I added a bit of white to the skin color. Basically the skin is finished now but I prefer it a bit brighter. You can add more white and paint a final highlight like in the second picture of this step.
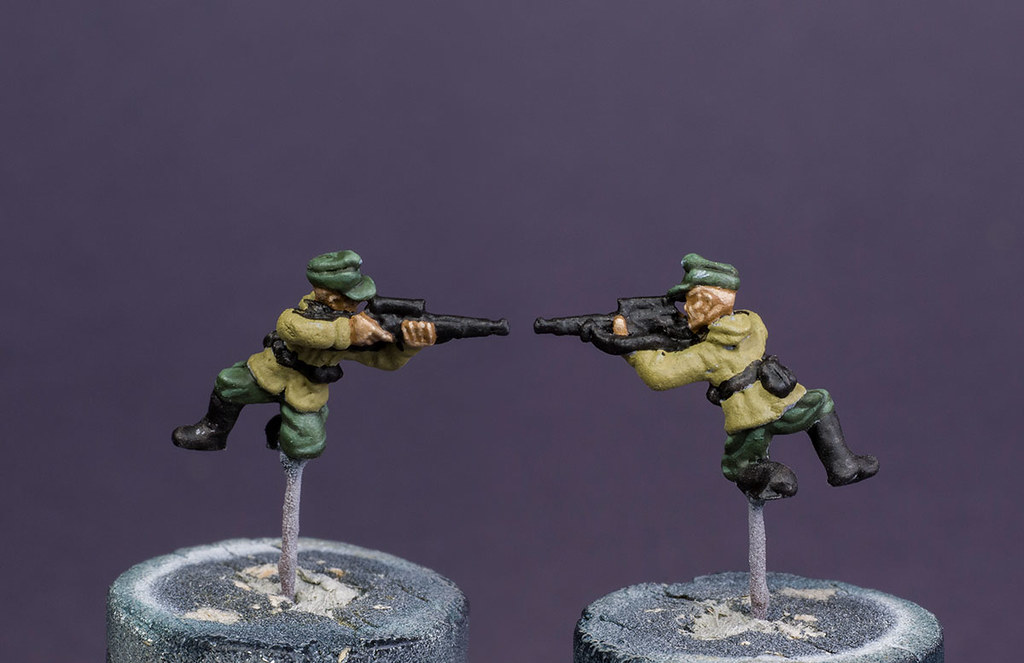
Step 10
Grundiere das Gewehr, den Gürtel, die Taschen und die Stiefel Schwarz.
Basecoat the rifle, the belt, pouches and the boots black.
Step 11
Die erste Farbe für den Kar 98 ist VMC Flat Brown. Man muss hier sehr genau sein, damit man die Haut nicht erwischt.
The first color for the Kar 98 is VMC Flat Brown. Be careful that you don’t get any paint on the skin.
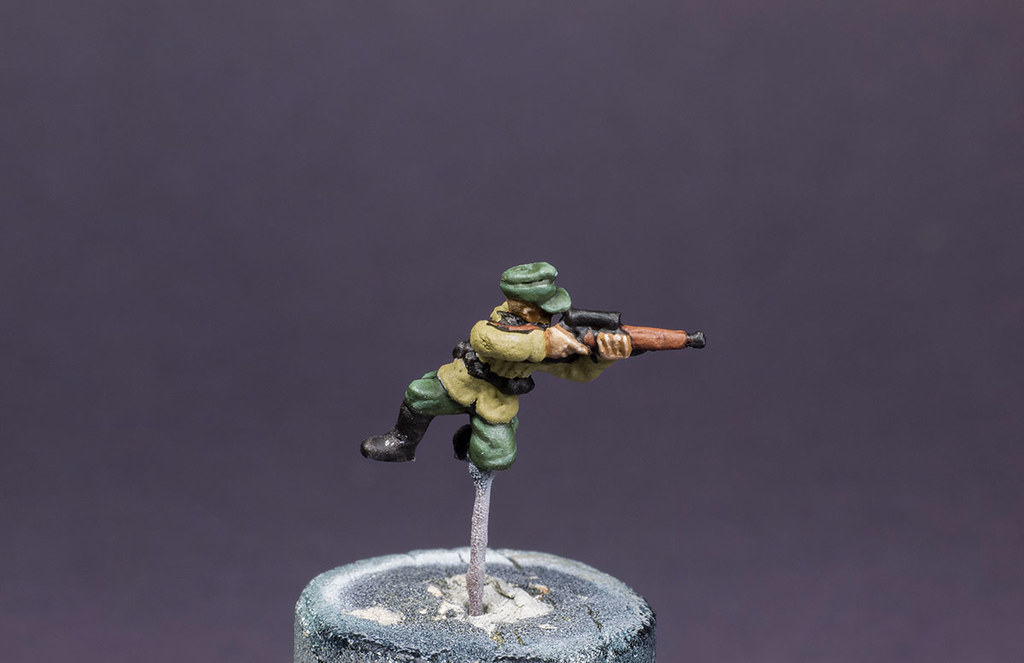
Step 12
Das Gewehr erhielt zwei Highlights. Für das erste mischte ich VMC Flat Brown mit VMC Light Brown zusammen. Danach fügte ich einfach noch etwas mehr Light Brown hinzu.
I applied two highlights on the rifle. For the first one I mixed VMC Flat Brown and VMC Light Brown together. Than I added more Light Brown to the first mixture.
Step 13
Die Metallteile wurden wieder schwarz bemalt und zweimal akzentuiert mit VMC Black Grey und einer Mischung aus Black Grey und Beige (alternativ VMC Sunny Skin Tone oder Weiß).
Paint the metal parts black again and highlight them twice with VMC Black Grey and a mixture of Black Grey with Beige (or VMC Sunny Skin Tone or White).
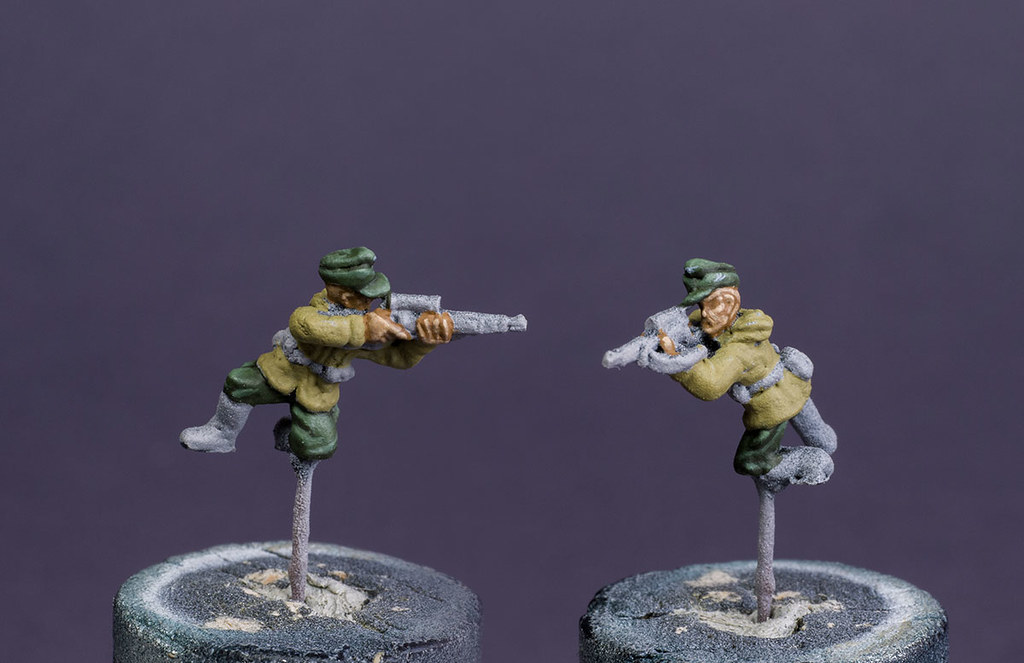
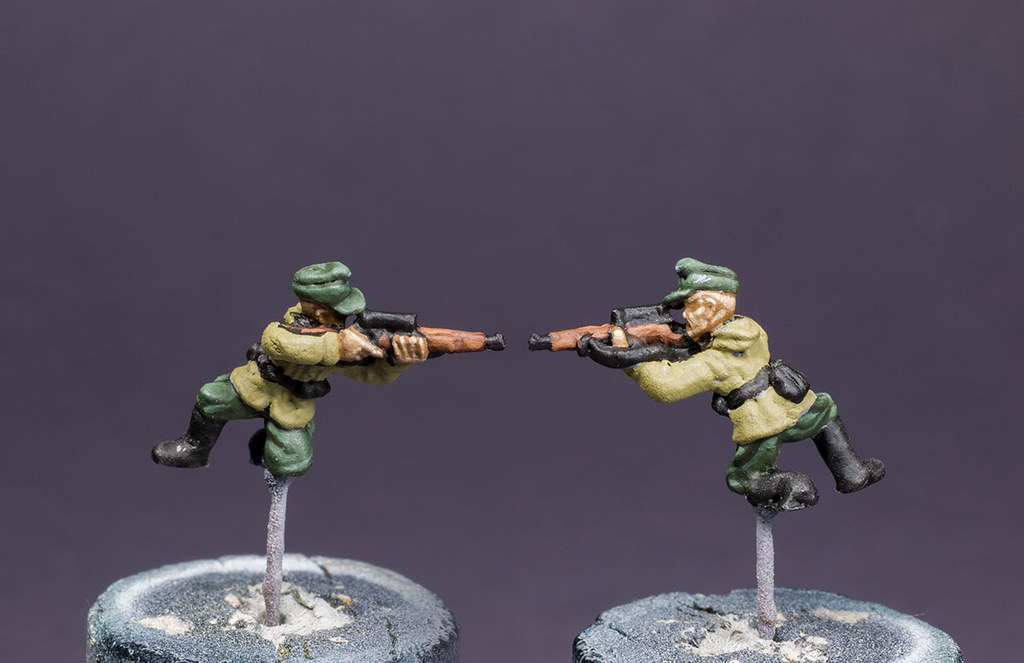
Step 14
Jetzt wird die Jacke mit VMC Khaki bemalt. Sollte man auf die Akzentuierung aus Schritt 15 verzichten, kann man auch VMC German Camo Beige verwenden.
Now paint the jacket VMC Khaki. If you skip the highlighting from step 15 you can also use VMC German Camo Beige for this step.
Step 15
Ich akzentuierte die jacke mit VMC German Camo Beige und Weiß. Eine andere Option wäre ein dünnes Wash (VMC Chocolate Brown zum Beispiel) aufzutragen nachdem man das Camomuster aufgemalt hat. Beides geht natürlich auch.
I highlighted the jacket with VMC German Camo Beige and White. Another option would be to apply a thin wash (eg VMC Chocolate Brown) after you finished the camo pattern or both.
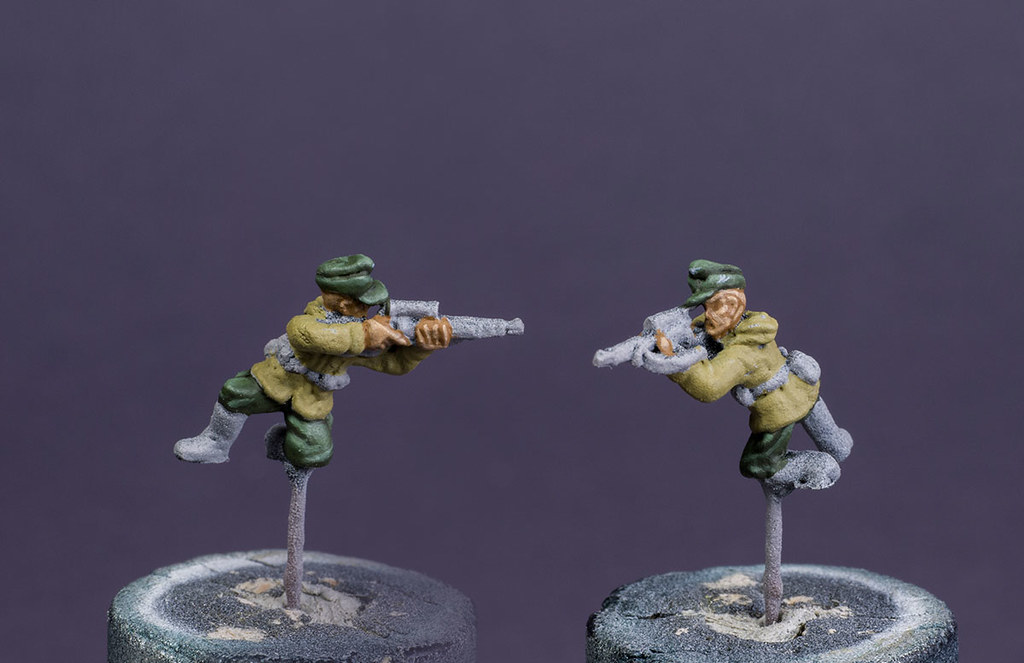
Step 16
Für die braunen “Splitter” benutzte ich VMC German Camo Medium Brown. Ich empfehle ein Bild des Tarnmusters vor sich zu haben während man diese malt. Die Kanten müssen scharf und eckig sein.
For the brown “Splitter” pattern I used VMC German Camo Medium Brown. I recommend to have a picture of the original camo in front of you while painting these. Try to paint the edges as sharp as possible.
Step 17
Die Grünen Flecken wurden mit VMC Luftwaffe Camo Green gemalt. Es kann auch VMC Olive Green oder eine ähnliche Farbe verwendet werden. Diese Teile des Musters sind kleiner aber genauso eckig. Des Weiteren hängen sie immer an den braunen Bereichen dran.
The green parts were painted with VMC Luftwaffe Camo Green. You could also use VMC Olive Green or similar colors. These spots are smaller than the brown ones but also sharp and they are always attached to the brown areas.
Step 18
Für Detailverliebte können noch die dünnen dunkelgrünen Streifen auf die Jacke gemalt werden. Ich benutzte VMC Olive Green dafür.
For the love of details you can paint the dark green “raindrops” on the jacket. I used VMC Olive Green for that.
Step 19
Der Gürtel, die Taschen und der Gewehrriemen wurden mit VMC German Camo Black Brown bemalt.
Paint the belt, pouches and the rifle sling with VMC German Camo Black Brown.
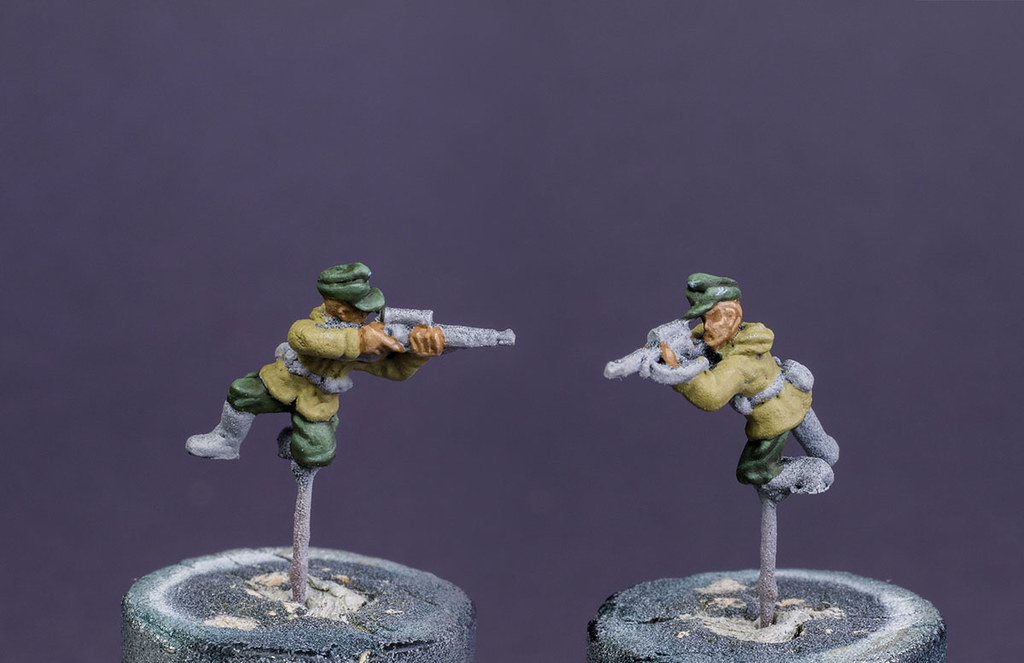
Step 20
Um alles zu akzentuieren mischte ich VMC Sunny Skin Tone zur Grundfarbe. Für einen gebrauchte Look habe ich noch ein zweites Highlight an den Kanten angebracht. Zum Beispiel an dem Gewehrriemen.
Highlight everything by mixing VMC Sunny Skin Tone to VMC German Camo Black Brown. It looks a bit more used if you apply a second highlight on the edges. I did that on the rifle sling.
Step 21
Der untere Teil der Wasserflasche wurde mit VMC Beige Brown bemalt. Die Schnalle in der Mitte und der obere Teil wurden Schwarz gelassen.
Paint the lower part of the bottle with VMC Beige Brown. The strap in the middle and the upper part (the cup) stays black.
Step 22
Danach wurde ein Highlight mit VMC US Field Drab aufgetragen. Alternativ kann man auch Beige Brown mit Beige mischen.
Highlight the water bottle with VMC US Field Drab or with a mixture of Beige Brown and beige.
Step 23
Damit die Wasserflasche etwas gebrauchter aussieht, trug ich etwas Weiß (silber oder ein Bleistift geht auch) den Kanten des Deckels/Tasse auf. Da Weiß schon im Einsatz war malte ich noch einen weißen Punkt, als Lichtreflexion, vorne auf das Zielfernrohr.
Add some white or silver on the cup of the water bottle so it appears used. (you could also use a pencil for that) Already using white you can paint a little white dot on the scope as light reflection.
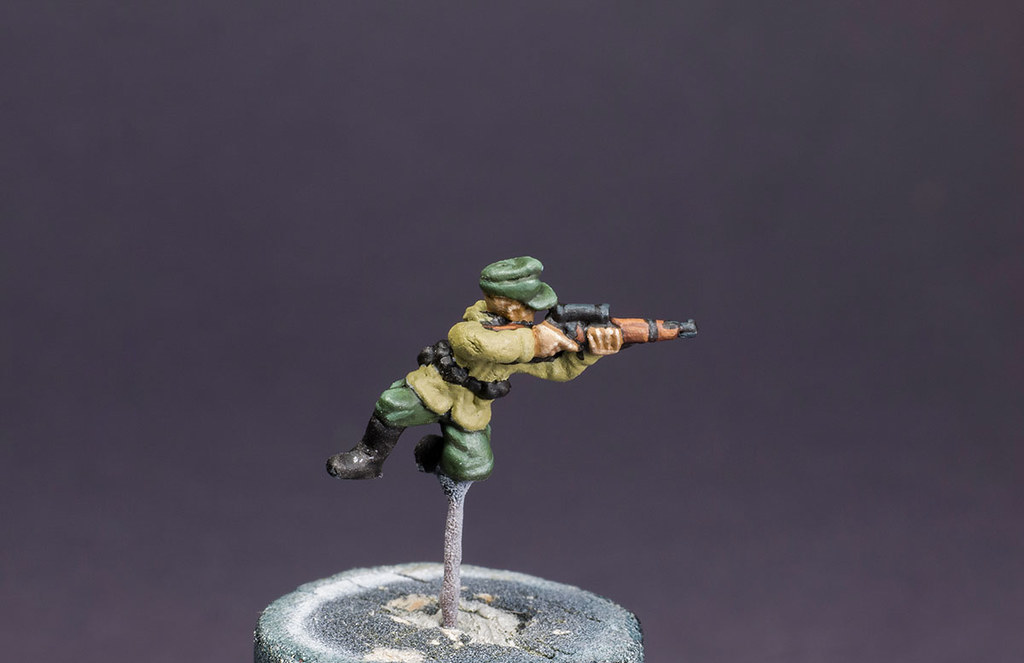
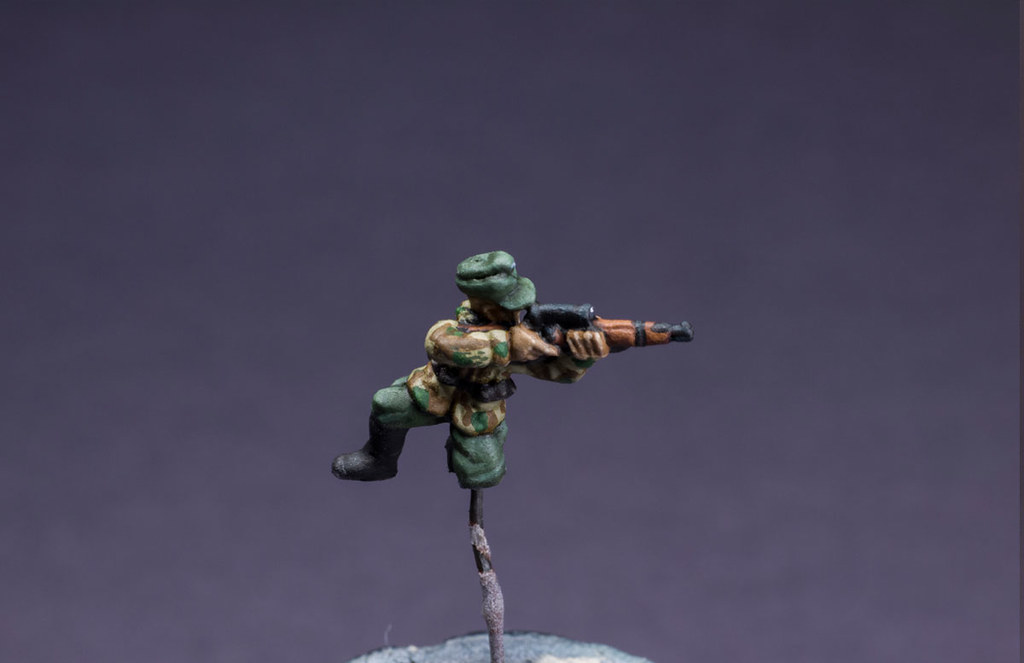
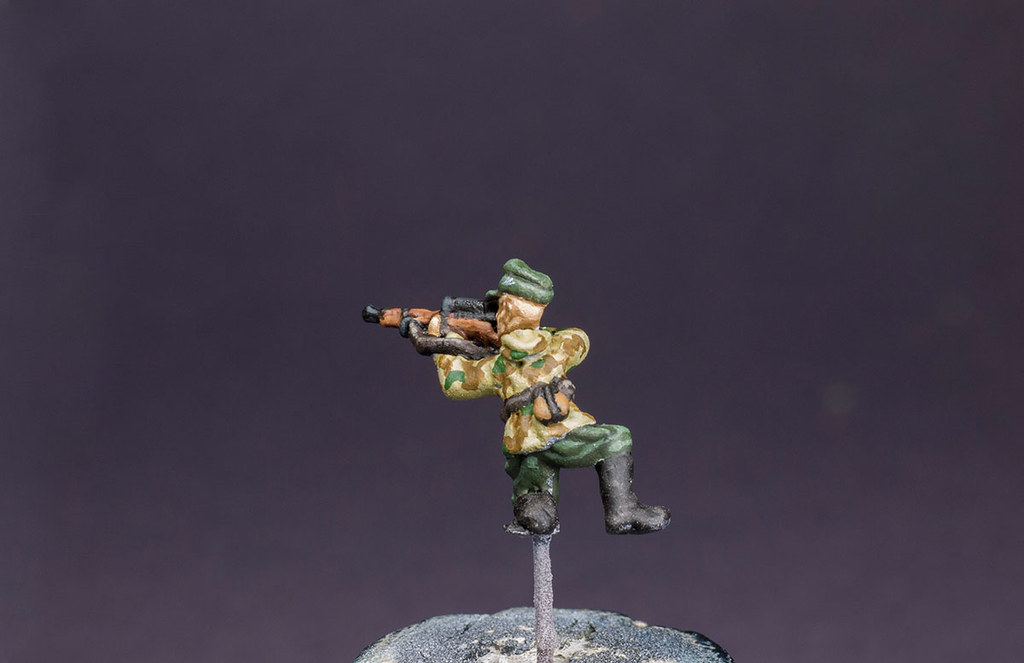
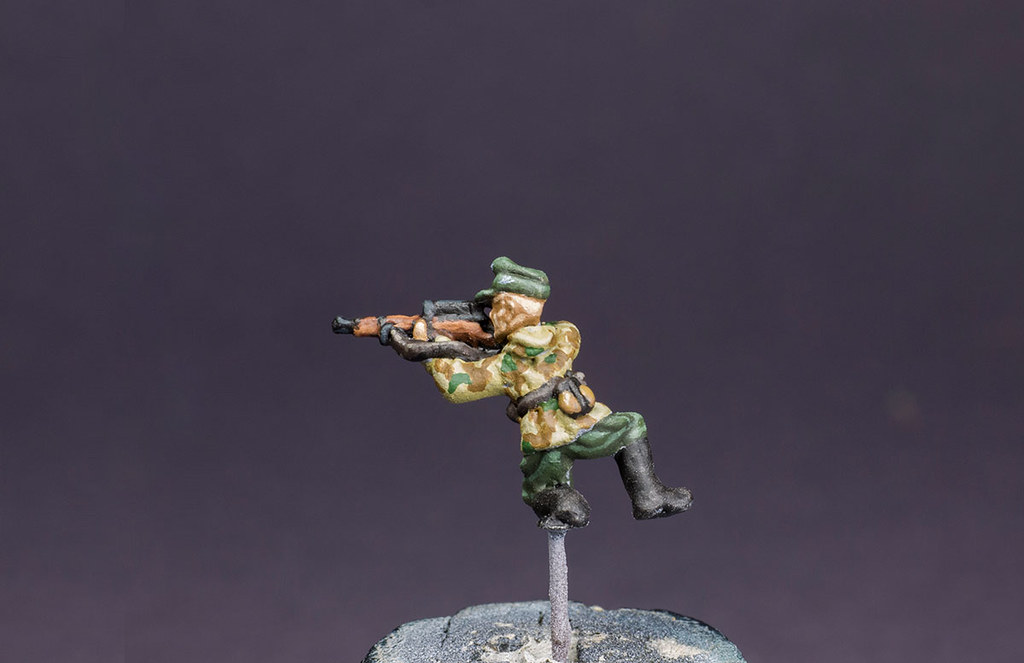
Step 24
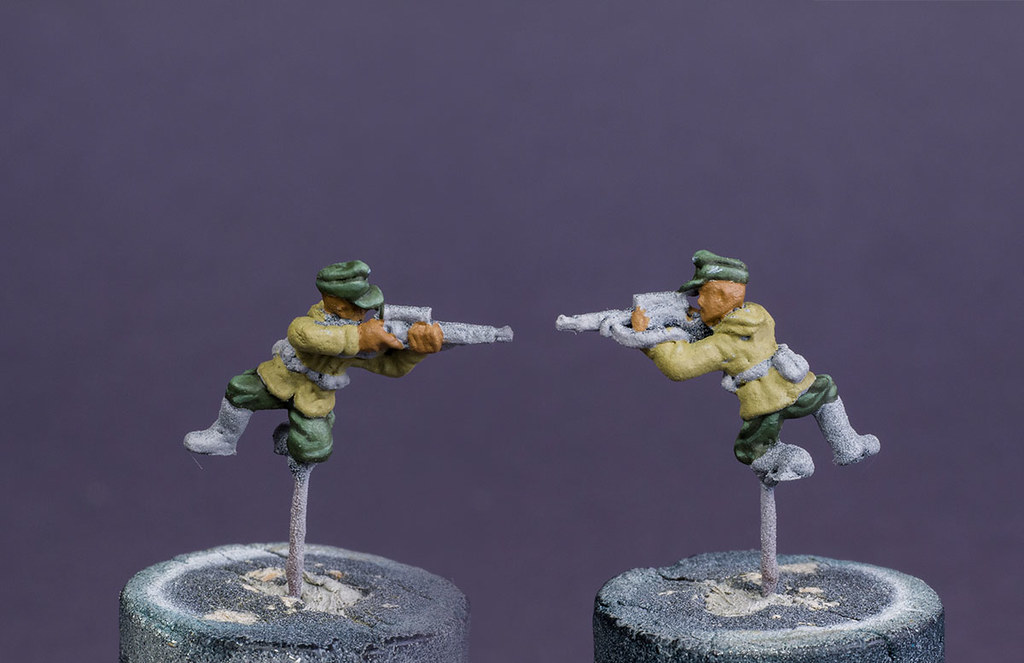
Um die Figur fertig zu stellen malte ich VGC Sepia Ink in die tiefsten Stellen (Blacklining) und trug graue Pigmente auf die Schuhe auf. Nach einer Schicht Klarlack war er fertig für seine Base
To finish the model I blacklined everything with VGC Sepia Ink and applied some grey pigments on the boots. Now he is ready to be put on his base.
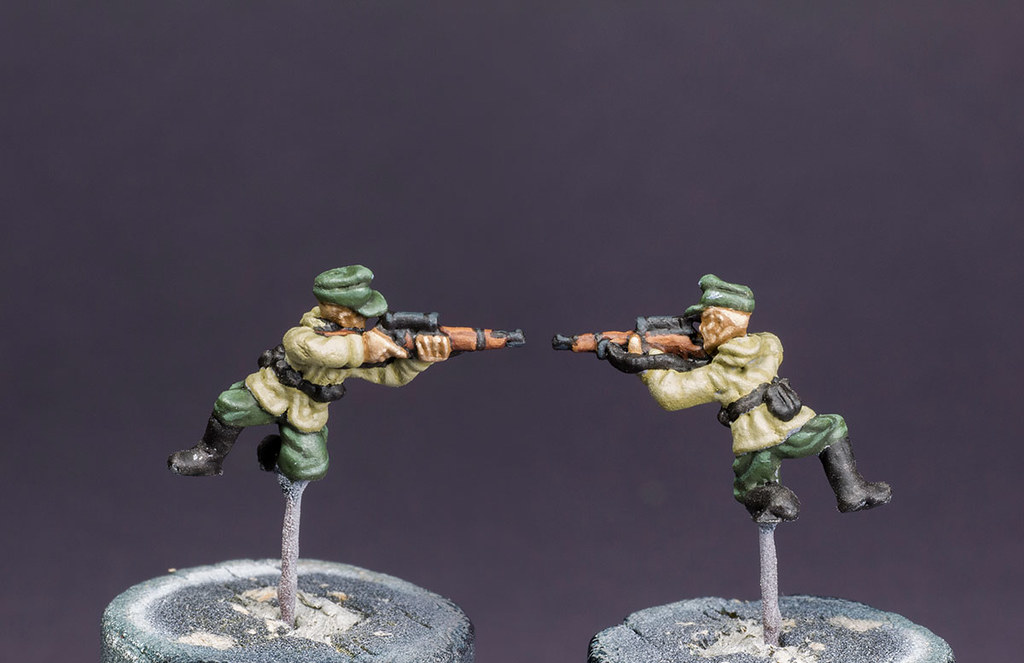
Vielen Dank fürs Lesen und ich hoffe dieses, etwas längere, Tutorial hat euch gefallen. Kommentare, Fragen oder Kritik sind, wie immer, willkommen. Wenn ihr dieses Tutorial als Video sehen wollte, dann schreibt mir dazu doch ein Kommentar in die Sektion unten.
Thank you very much for reading and I hope you enjoyed this tutorial, although it was a little bit longer than usual. Comments, questions or critics are always welcome. If you want to see that tutorial as a video please leave me a comment below.
Very nice work and wonderfully helpful! I know that it took longer to take all of the pictures than it did to paint the figure therefore I thank you for your time and effort! Please keep posting your painting activities!!
Carl
Hello Carl,
thank you very much for your wonderful comment. I will keep posting 😀
Cheers,
Raphael from neverdone