Painting Panzergrau – No Airbrush, No enamel colors
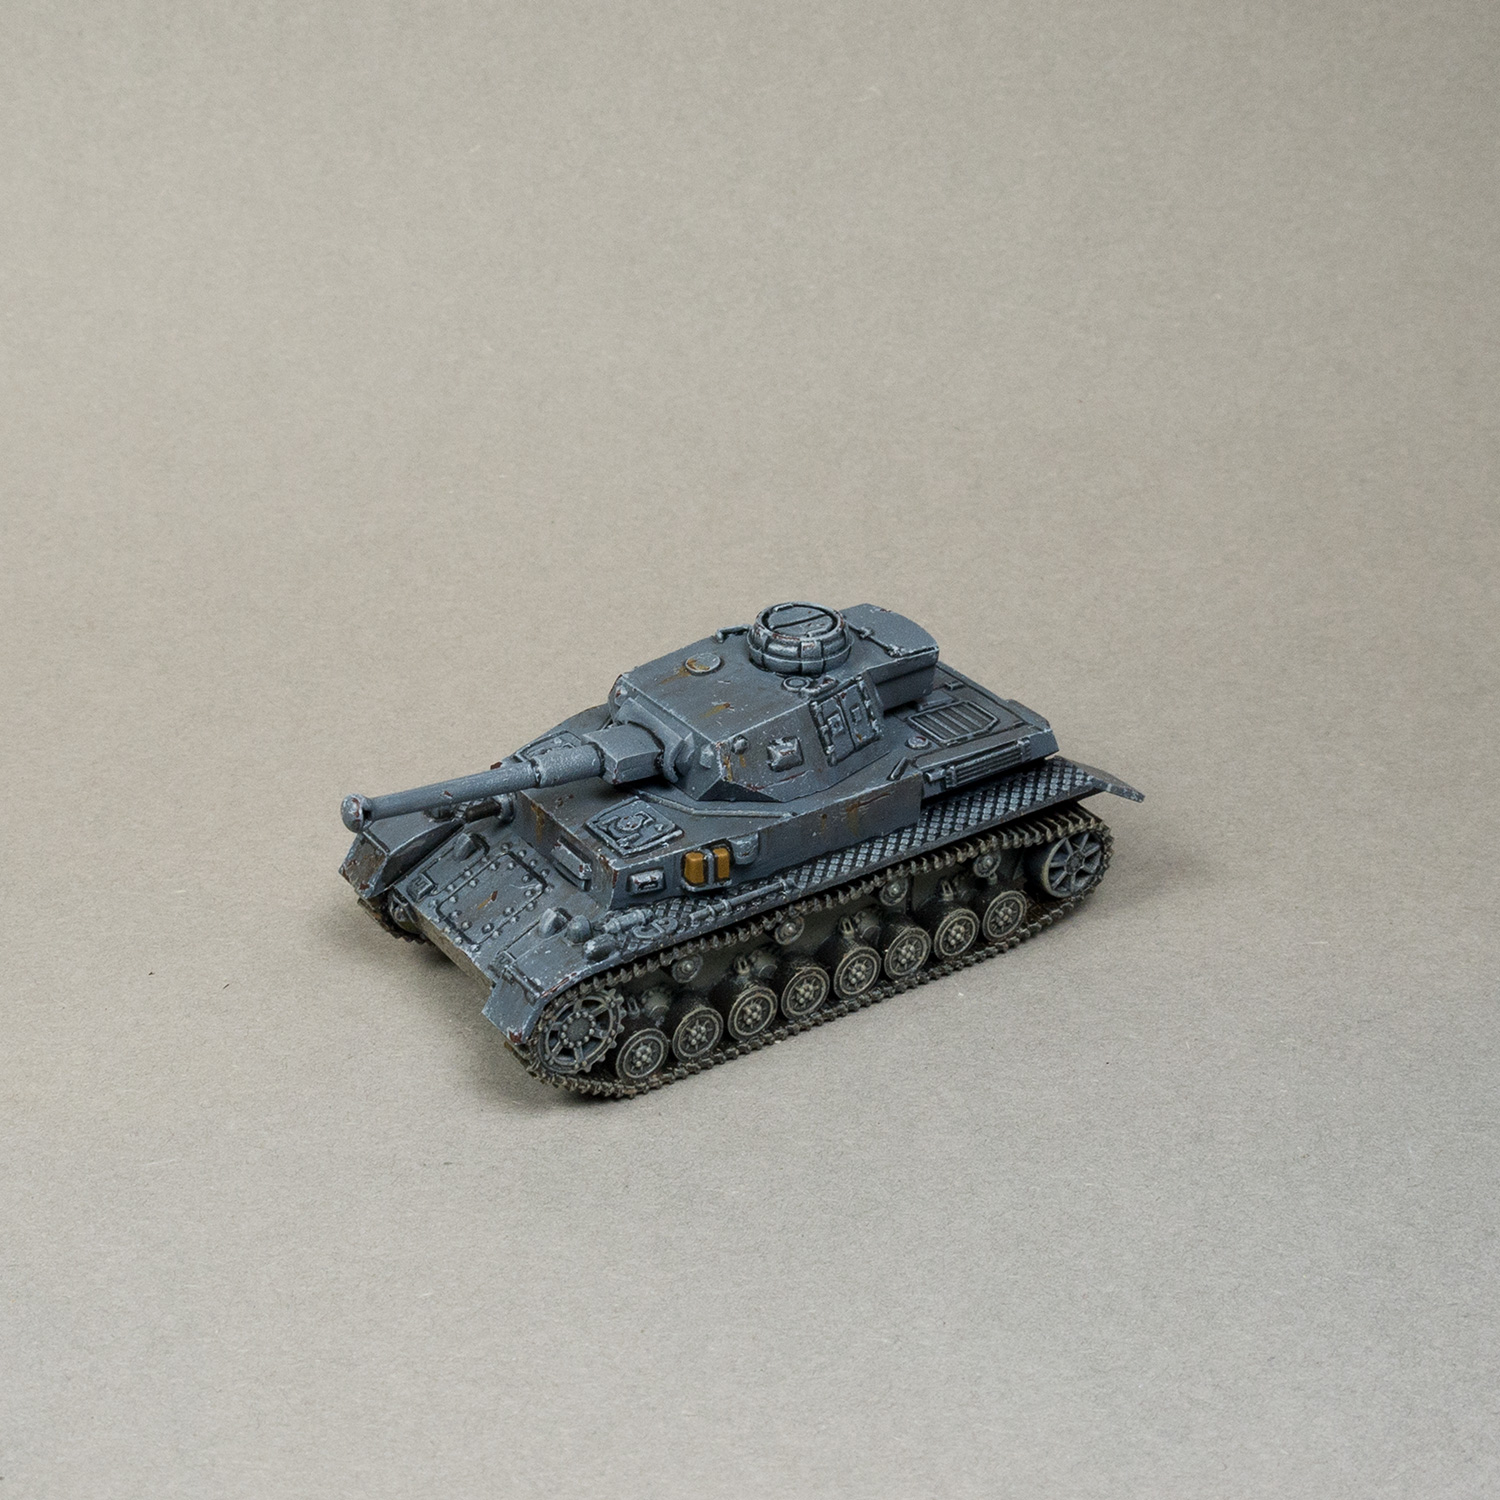
Hallo und Willkommen zum dritten Tutorial für die Ostfront. Wiedereinmal ist es ein deutsches Tutorial, diesmal jedoch über Panzer. Ich hab schon immer das Panzergrau gemocht und momentan ist der perfekte Zeitpunkt welches zu malen. Auch in diesem Tutorial versuche ich wieder alles so einfach wie möglich zu halten und benutze keinen Airbrush oder Enamelfarben. Versteht mich nicht falsch ich liebe diese Produkte und benutze sie auch recht häufig aber es gibt bestimmt einige die entweder keinen Zugriff darauf haben oder es einfach nicht benutzen möchten. Trotzdem empfehle ich diese mal auszuprobieren (besonders im Bezug auf Enamelfarben). Den Panzer welchen ich bemale ist ein Panzer IV. Die Technik kann aber auch auf jeden anderen deutschen Panzer angewandt werden.
Hello and welcome to the third tutorial for the Eastern Front. Again, it’s a German one, but this time it’s about tanks! I’ve always loved tanks in Panzergrau, and now is the best time to paint one. For this tutorial, I tried to make it as easy as possible without using an airbrush or any enamel colors. Don’t get me wrong; I love these products and use them very often, but some people don’t have access to them or simply don’t want to use them. However, I can still recommend them. The tank I’m going to paint is a Panzer IV, but you can use this method on any German tank.
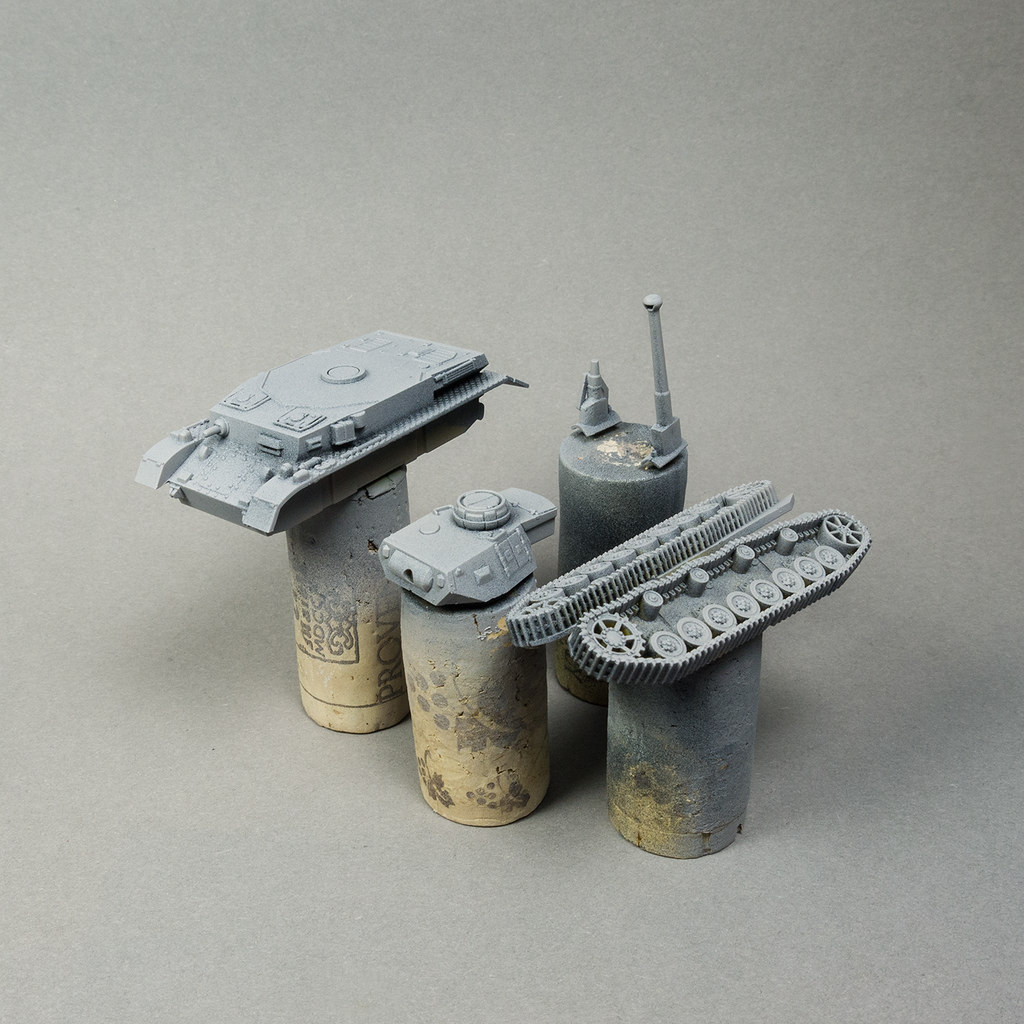
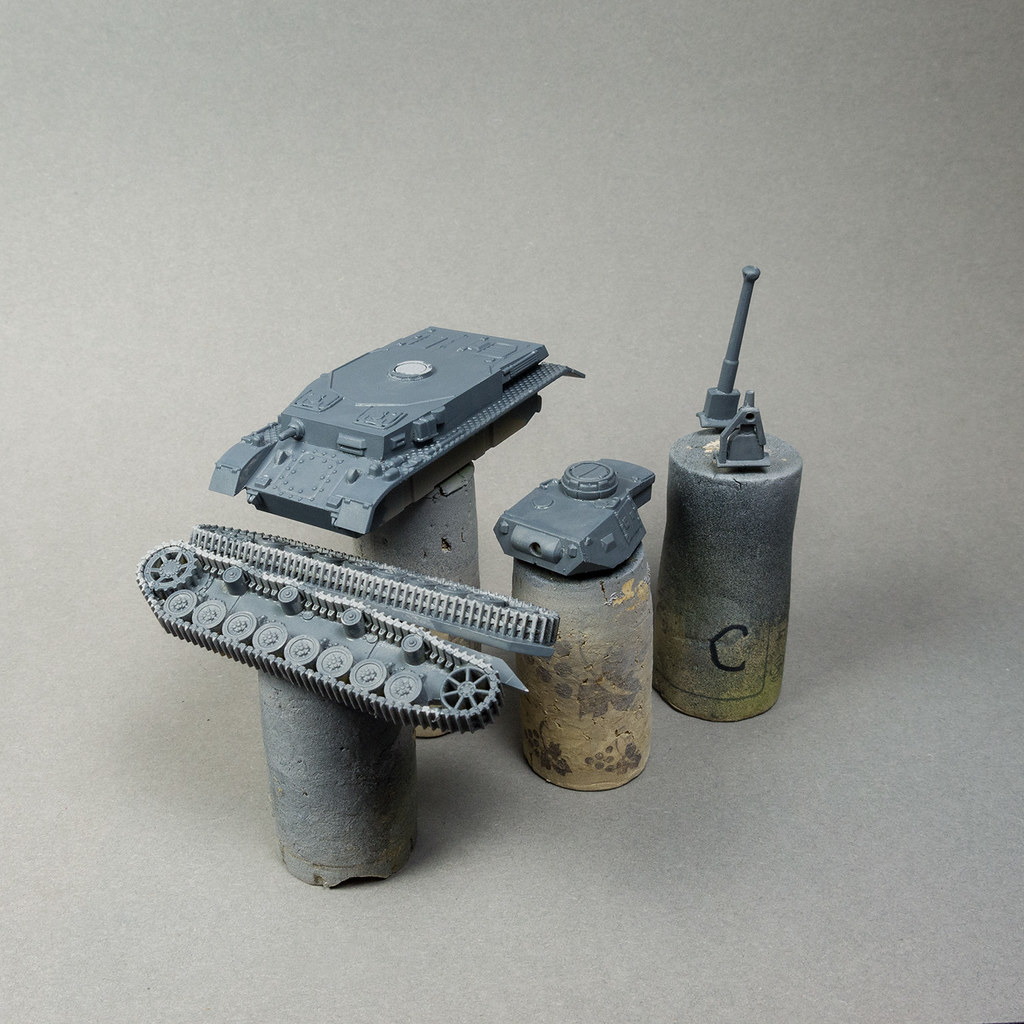
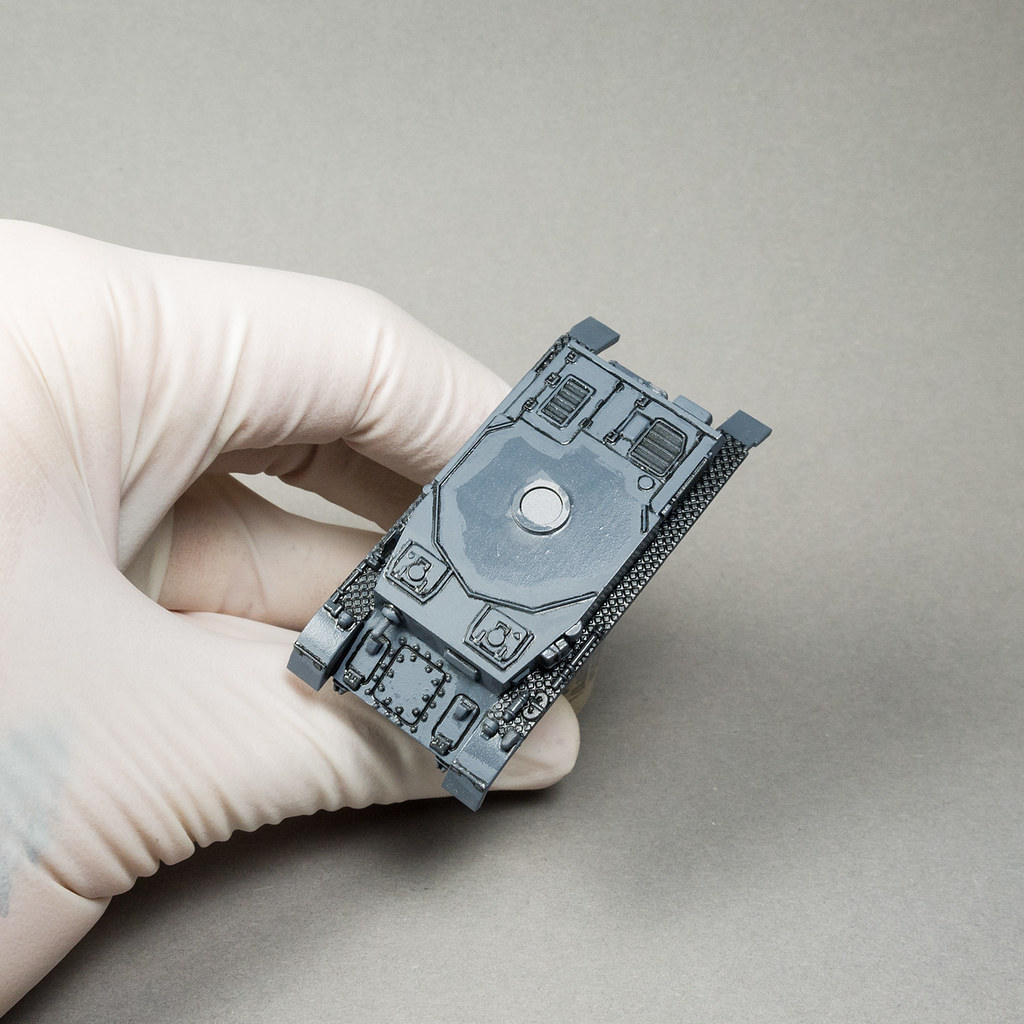
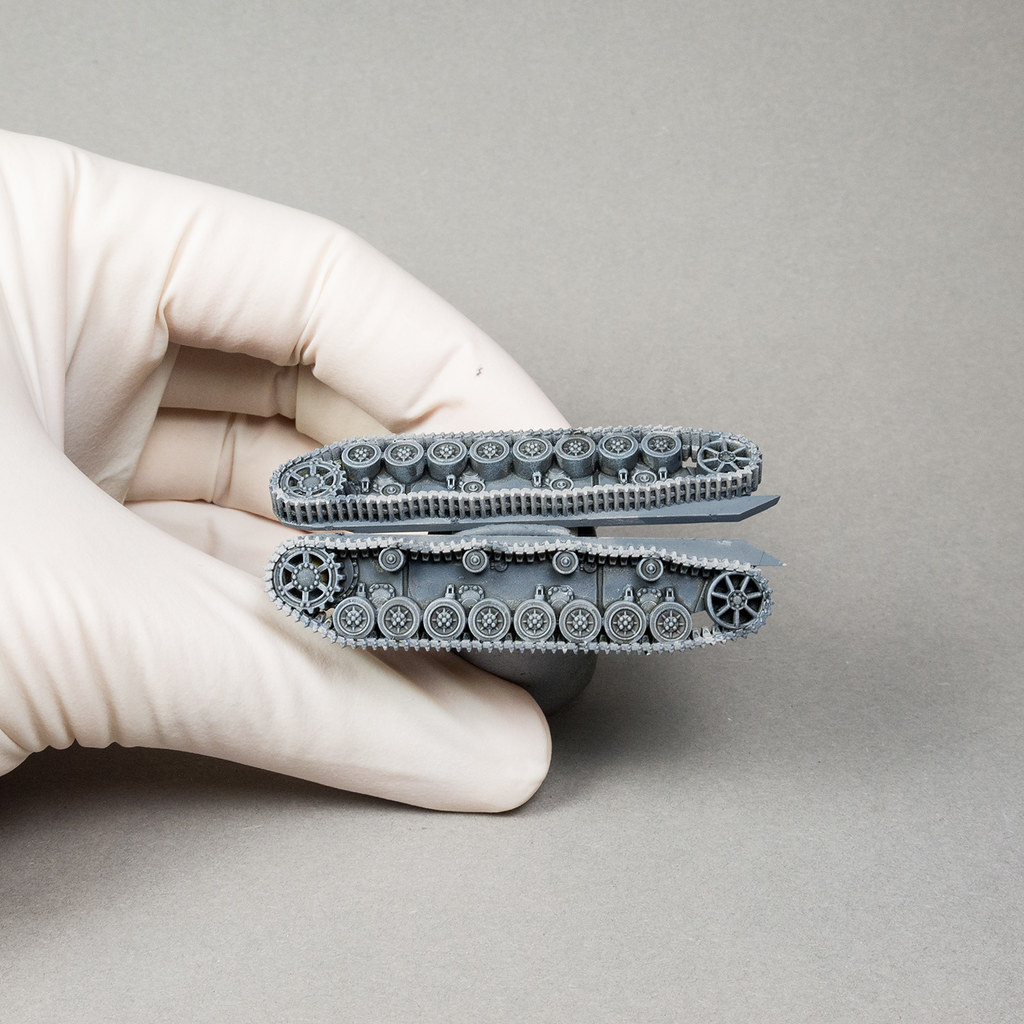
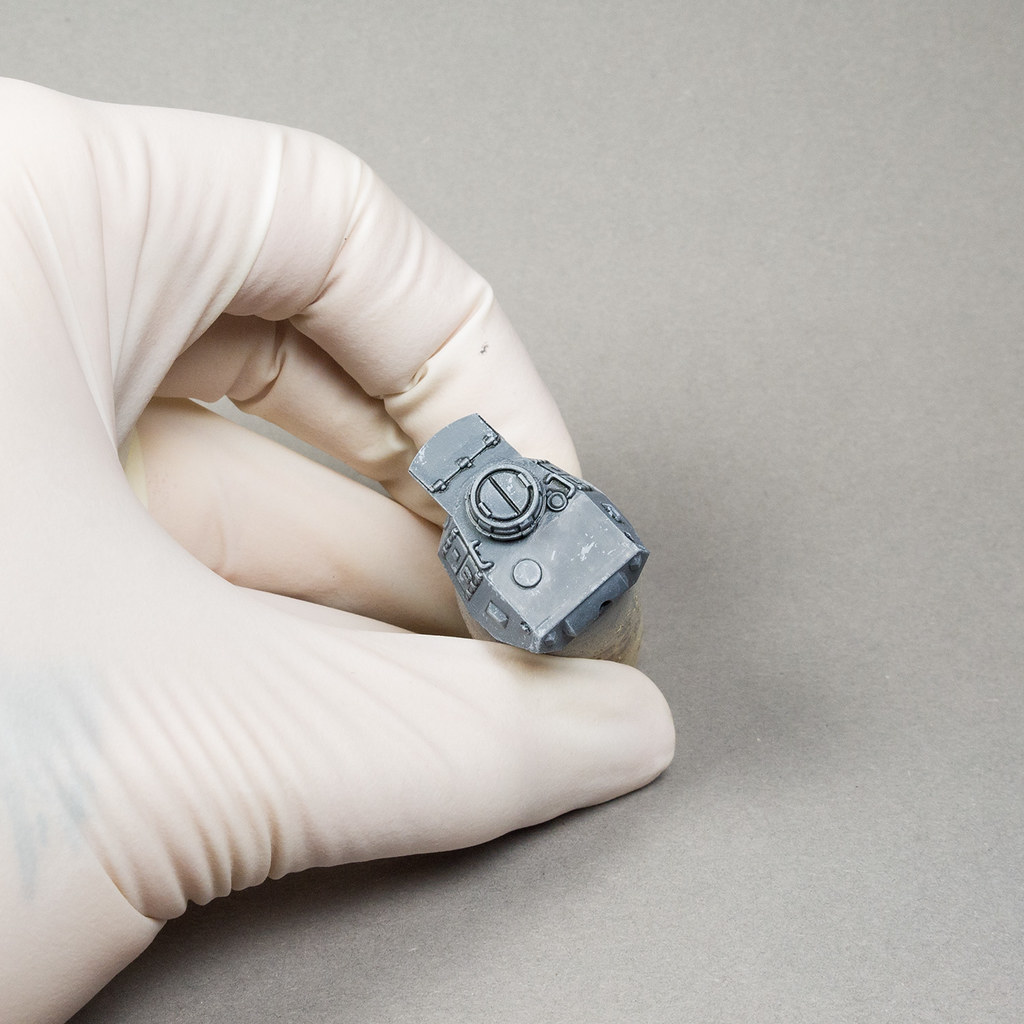
Ich bemale meine Panzer unzusammengebaut, da es einfacher ist bestimmte Bereiche zu bemalen und zu dem bin ich auch schon, durch das Airbrushen, daran gewöhnt.
I paint my tanks unassembled so it is easier to reach certain points and I am used to that because of airbrushing.
Es gibt jedoch ein besonderes Produkt welches ihr für dieses Tutorial benötigt und das ist Vallejo Retarder Medium (Trocknungsverzögerer), da dieser ziemlich nützlich sein wird für die Verwitterung. Es gehen bestimmt auch Trocknungsverzögerer anderer Firmen, jedoch habe ich damit keine Erfahrung.
There is one special product you should buy for this tutorial, and that is Vallejo’s retarder medium. It will be quite handy for the weathering. Retarder from other brands might also work, but I don’t have any experience with them.
STEP 00
Step 00
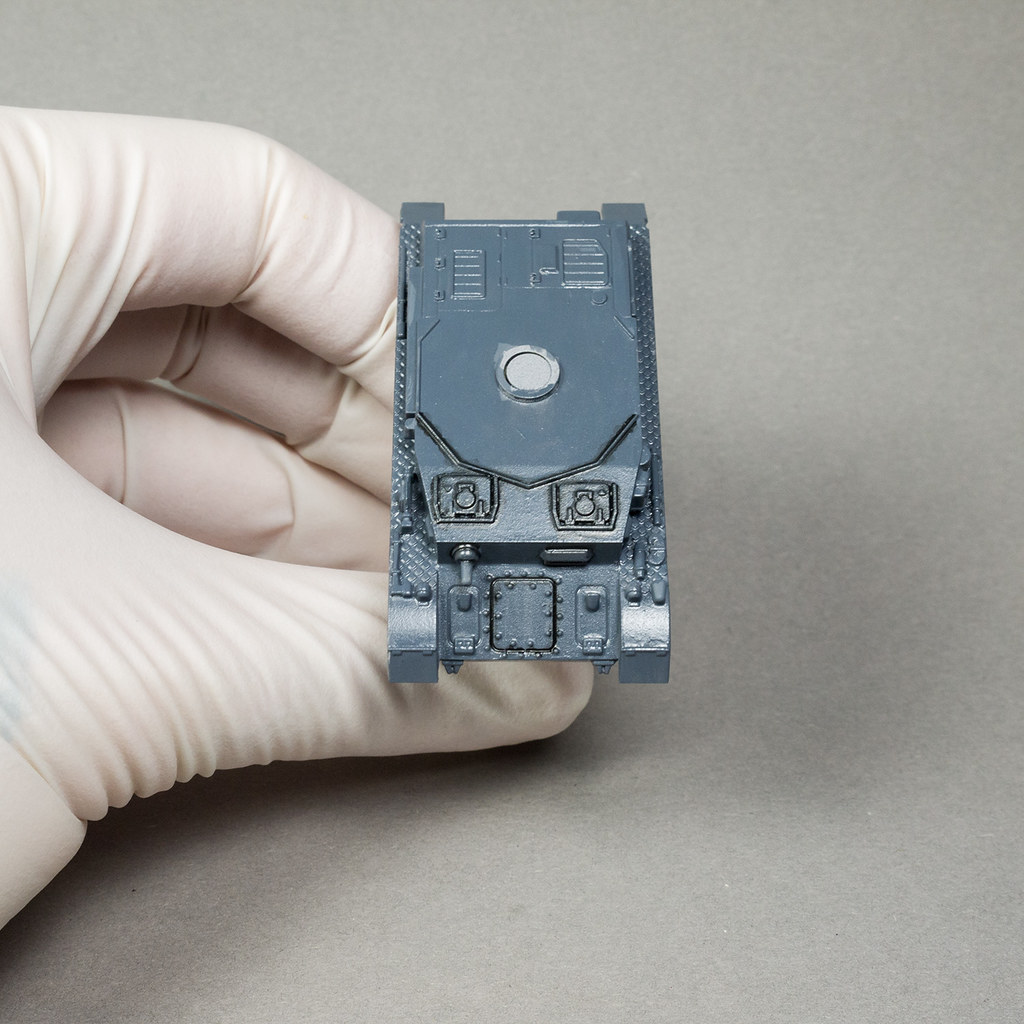
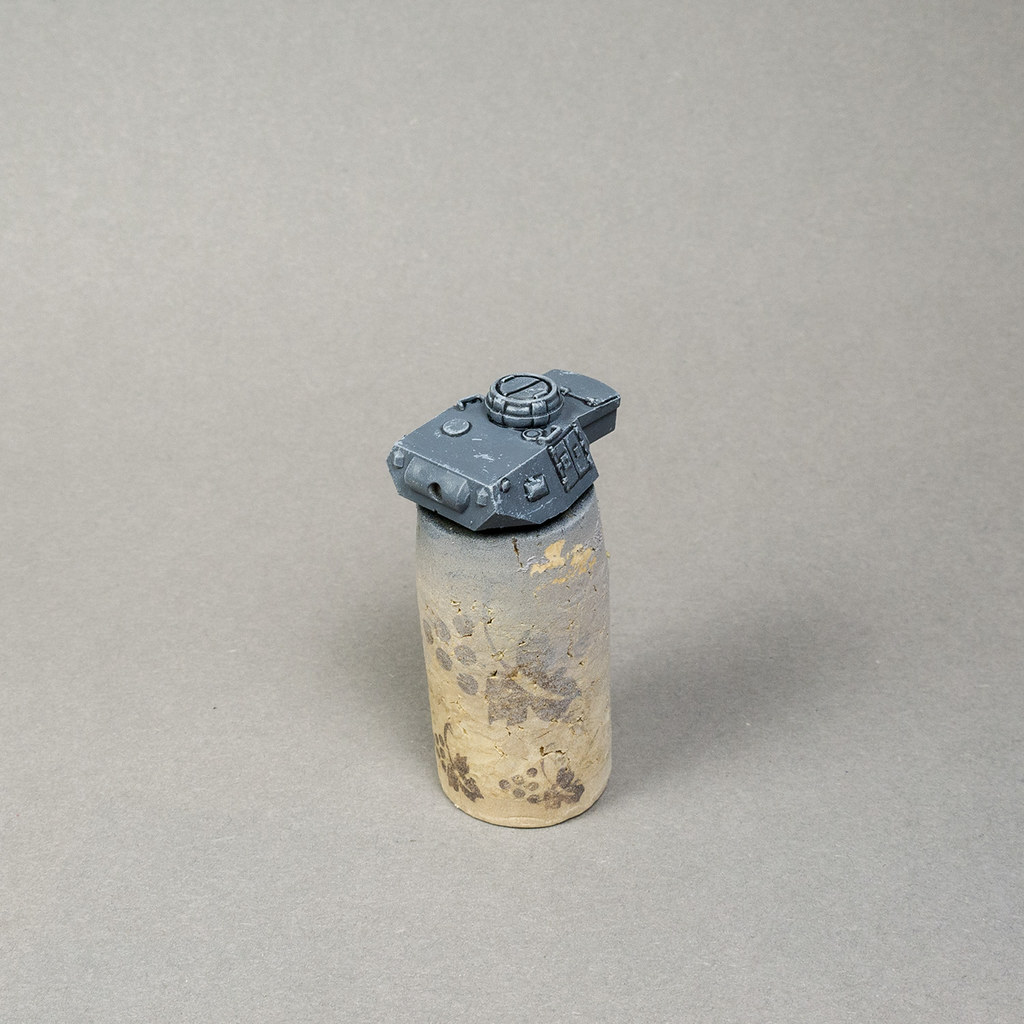
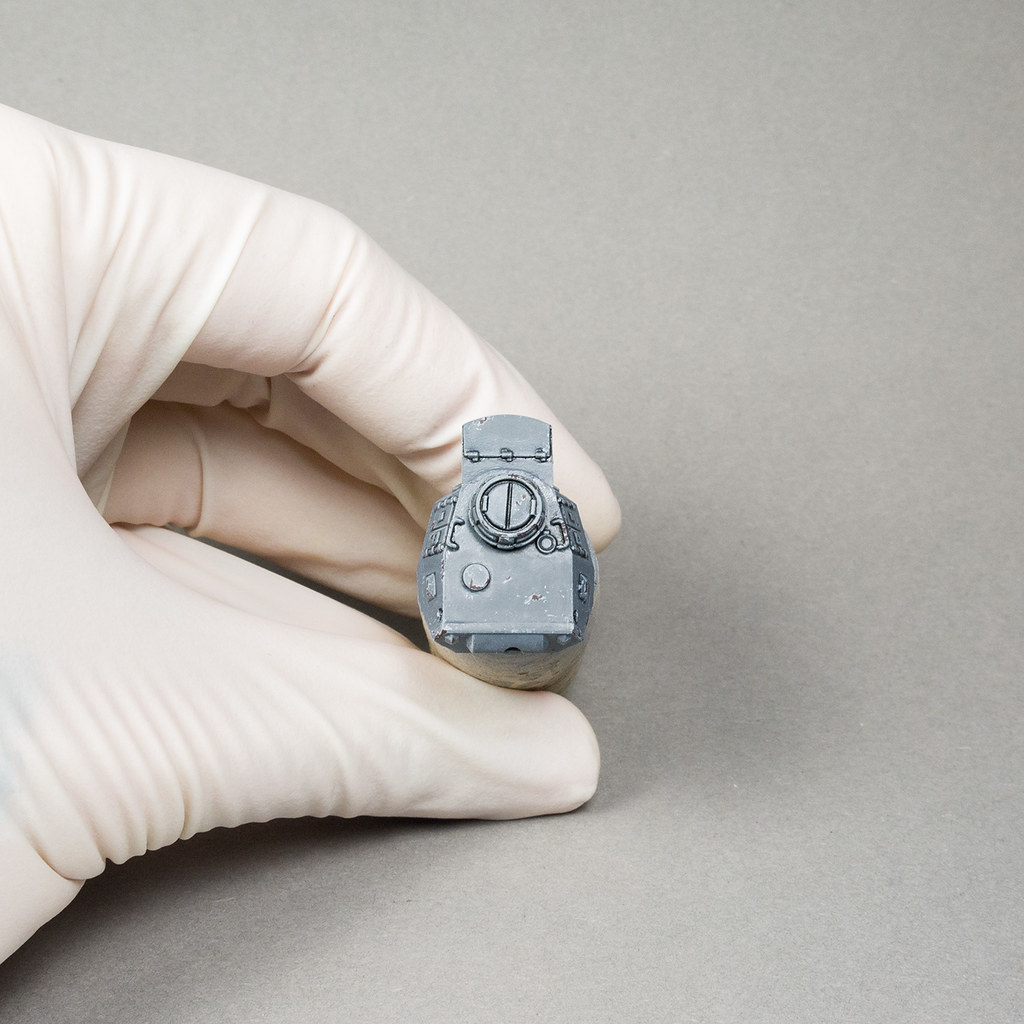
Ich grundierte den Panzer Grau damit es leichter ist die Grundfarbe aufzutragen.
I primed the tank in grey for easier application of the base color.
STEP 01
Step 01
Die Grundfarbe ist VMC London Grey (836). Andere mögliche Farben sind VMC Dark Sea Grey (991) oder VMC Neutral Grey (992). Es ist, wie immer, besser zwei dünne Farbschichten aufzutragen anstatt einer dicken. Vergesst also nicht eure Farbe richtig zu verdünnen. Sie sollte etwas dicker als Milch sein.
Our base color is VMC London Grey (836). Another option would be VMC Dark Sea Grey (991) or VMC Neutral Grey (992). It is better to apply two thin coats instead of one thick coat. So don’t forget to dilute your paint properly. It should be a little bit thicker than milk.
STEP 02

Step 02
Danach wurde eine Schicht Glanzlack aufgetragen. Man kann entweder Lack aus einer Sprühdose verwenden oder mit einem Pinsel auftragen. Geht sicher, dass der Lack vollkommen getrocknet ist bevor ihr weitermacht.
Apply a layer of gloss varnish. You can either spray it on using a spray can or apply it with a brush. Make sure it has dried completely before you proceed.
STEP 03
Step 03
In diesem Schritt habt ihr mehrere Optionen. Entweder benutzt ihr ein vorgefertigtes Shade wie Citadels Nuln Oil, Army Painter Shades oder eines von Battlefront (was im Grunde wieder Army Painter ist) oder ihr macht euch selber ein Wash. Ich benutze beides um euch die verschiedenen Ergebnisse zu zeigen. Übrigens bin ich großer Fan der Citadel Shades, welche wirklich gut sind.
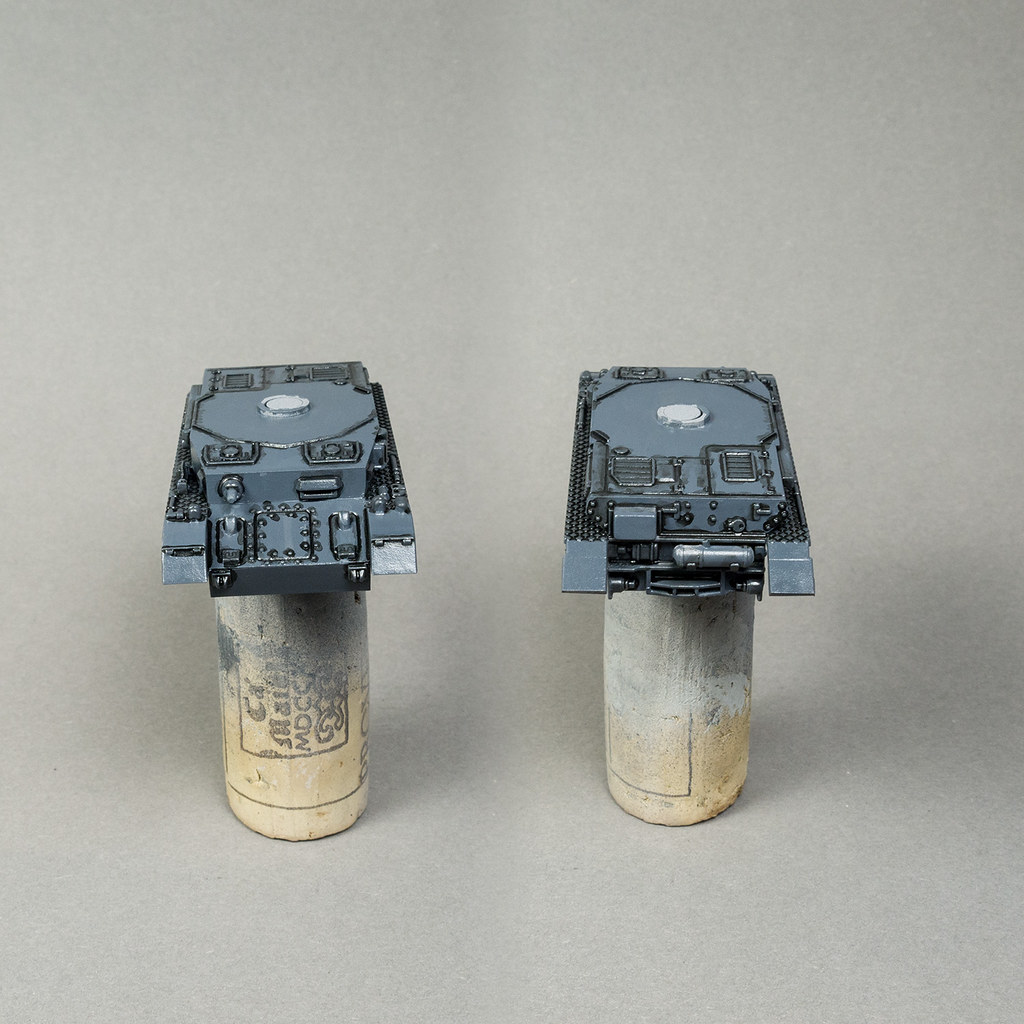
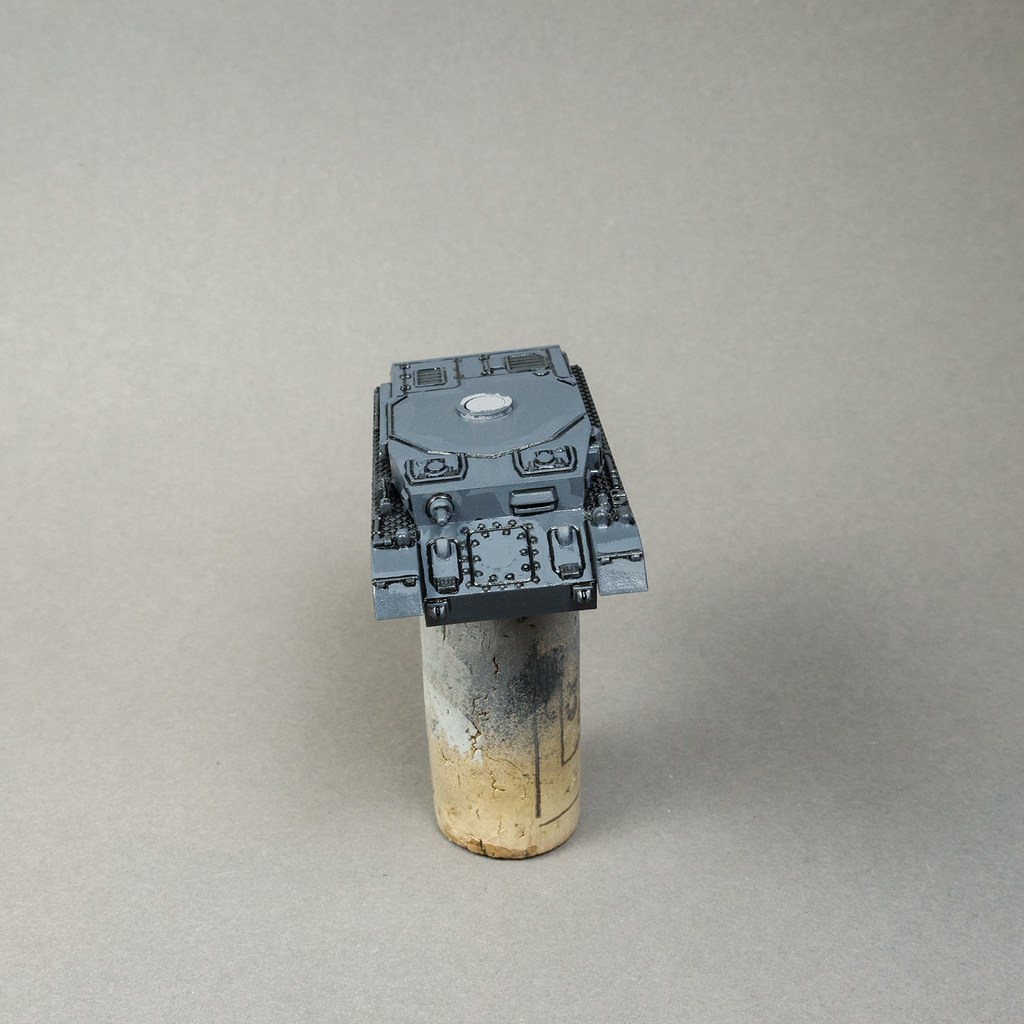
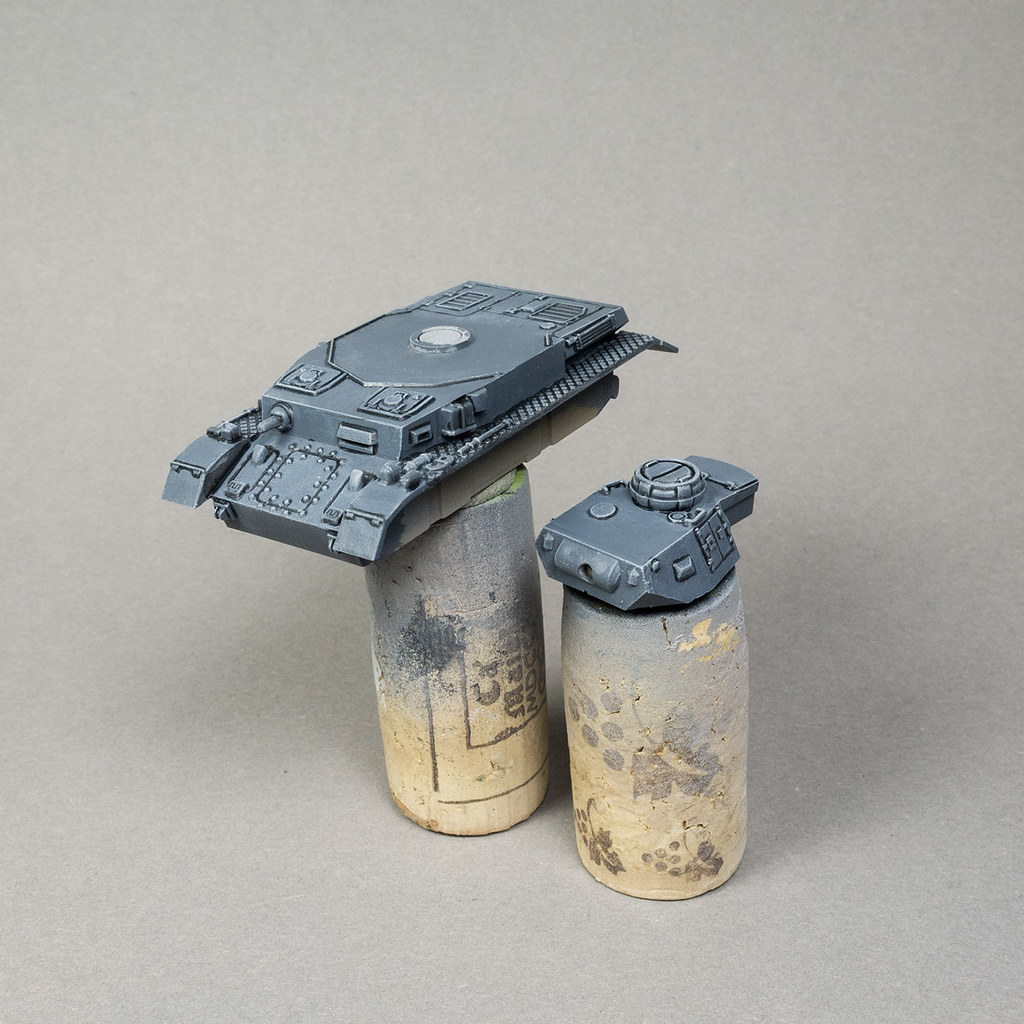
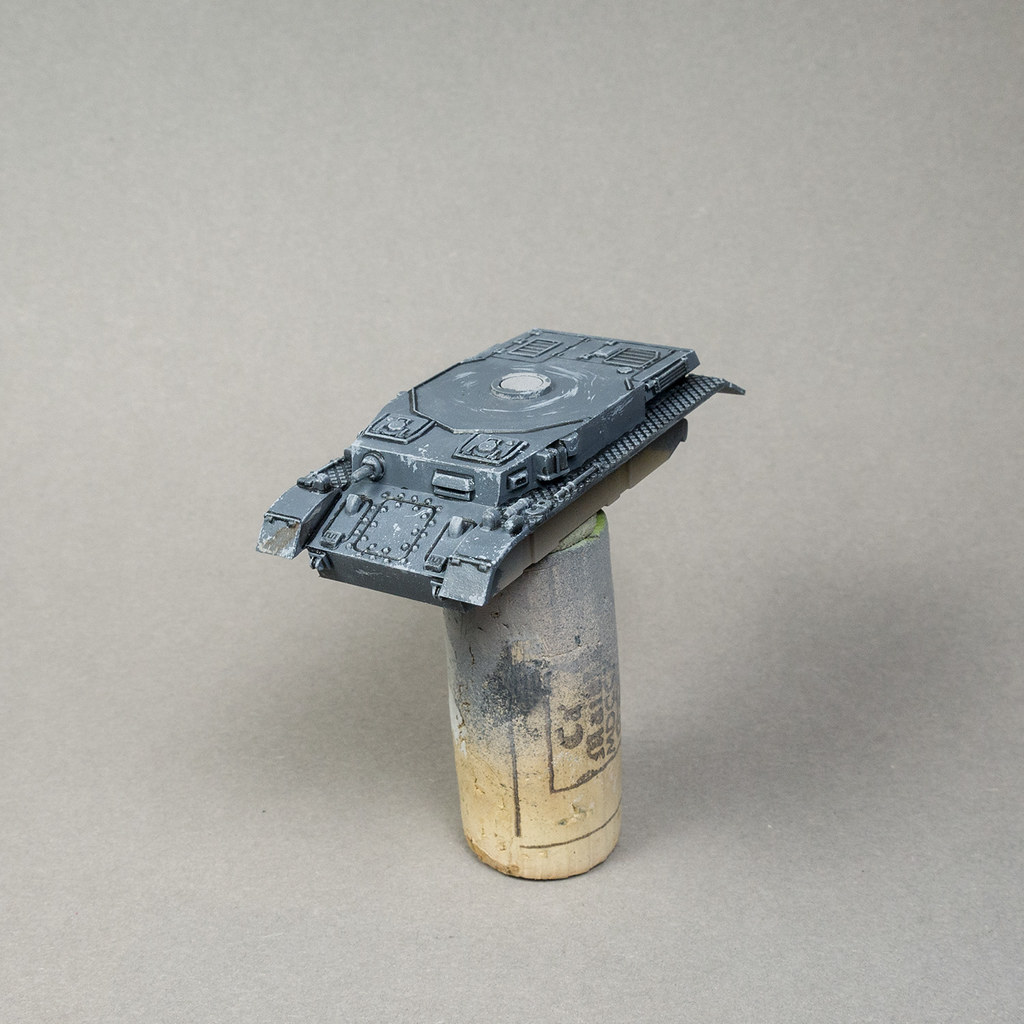
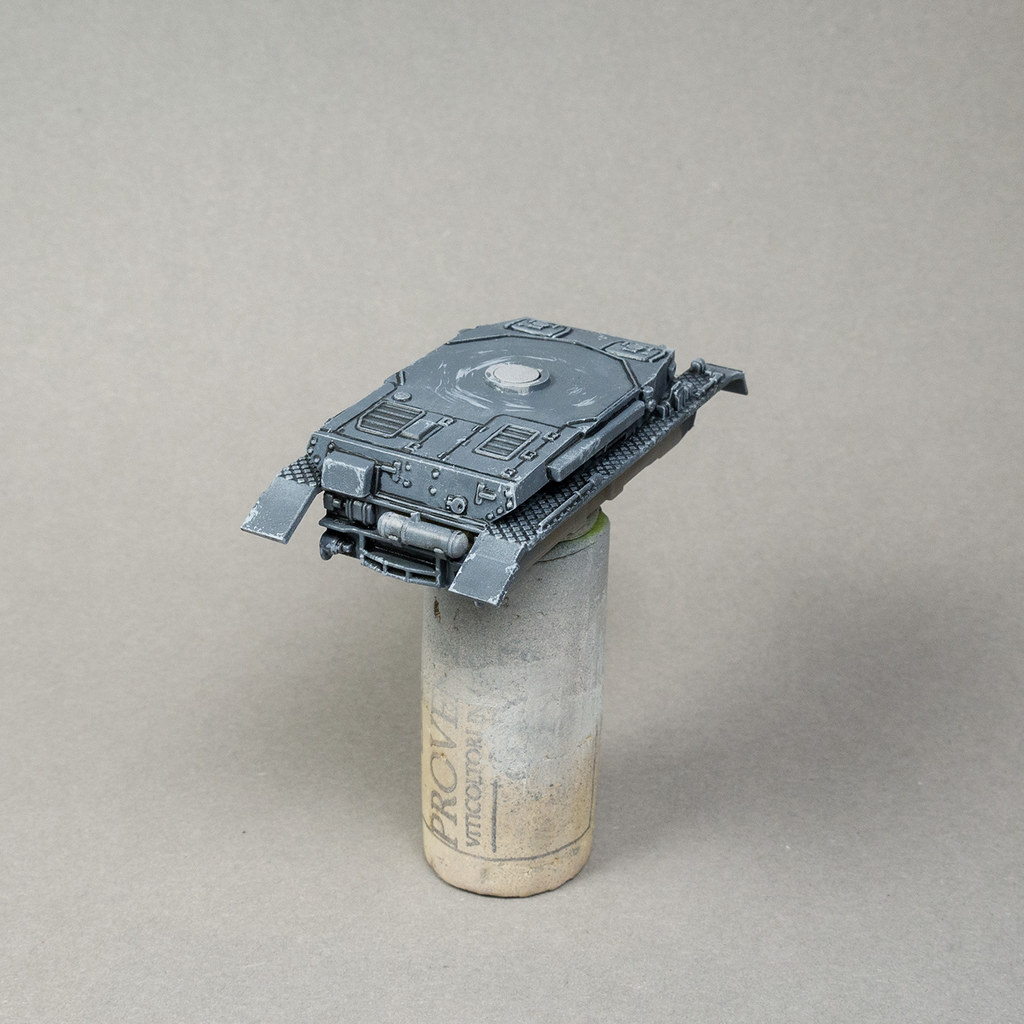
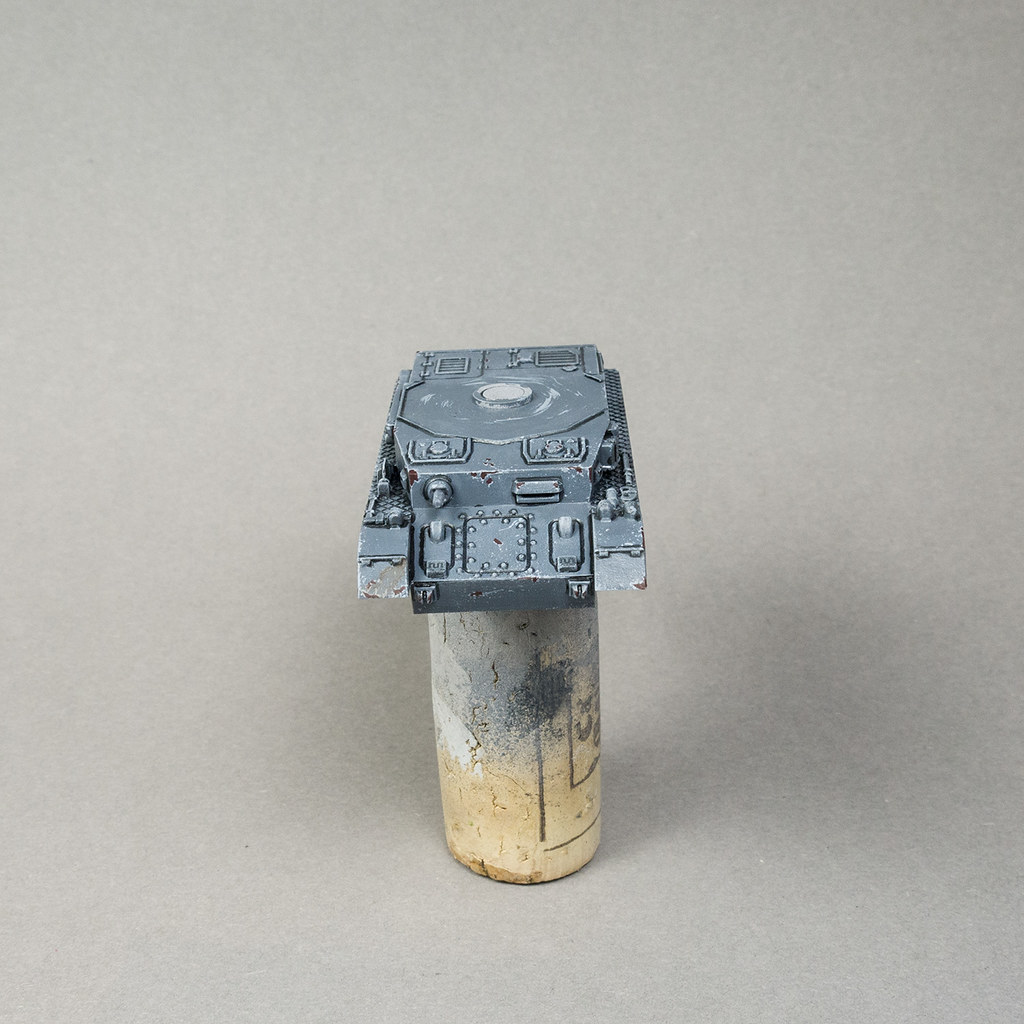
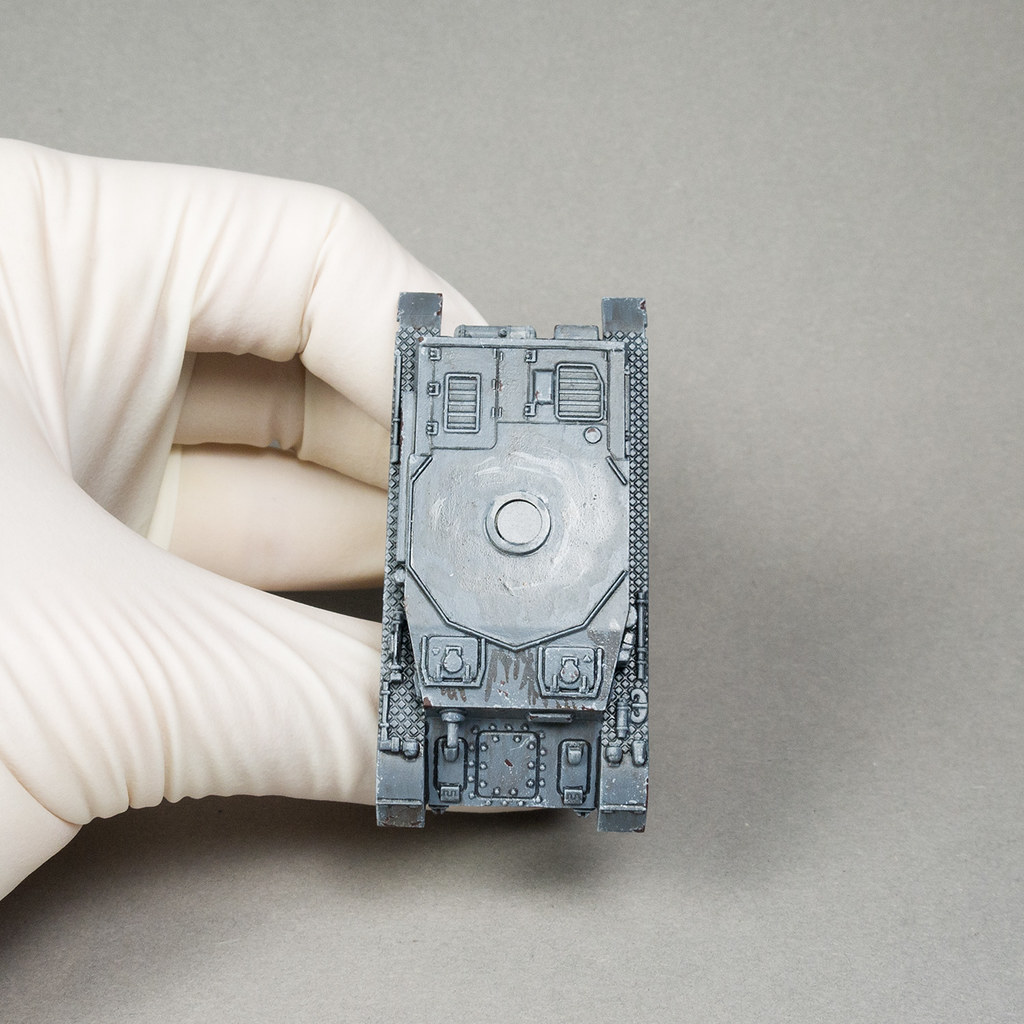
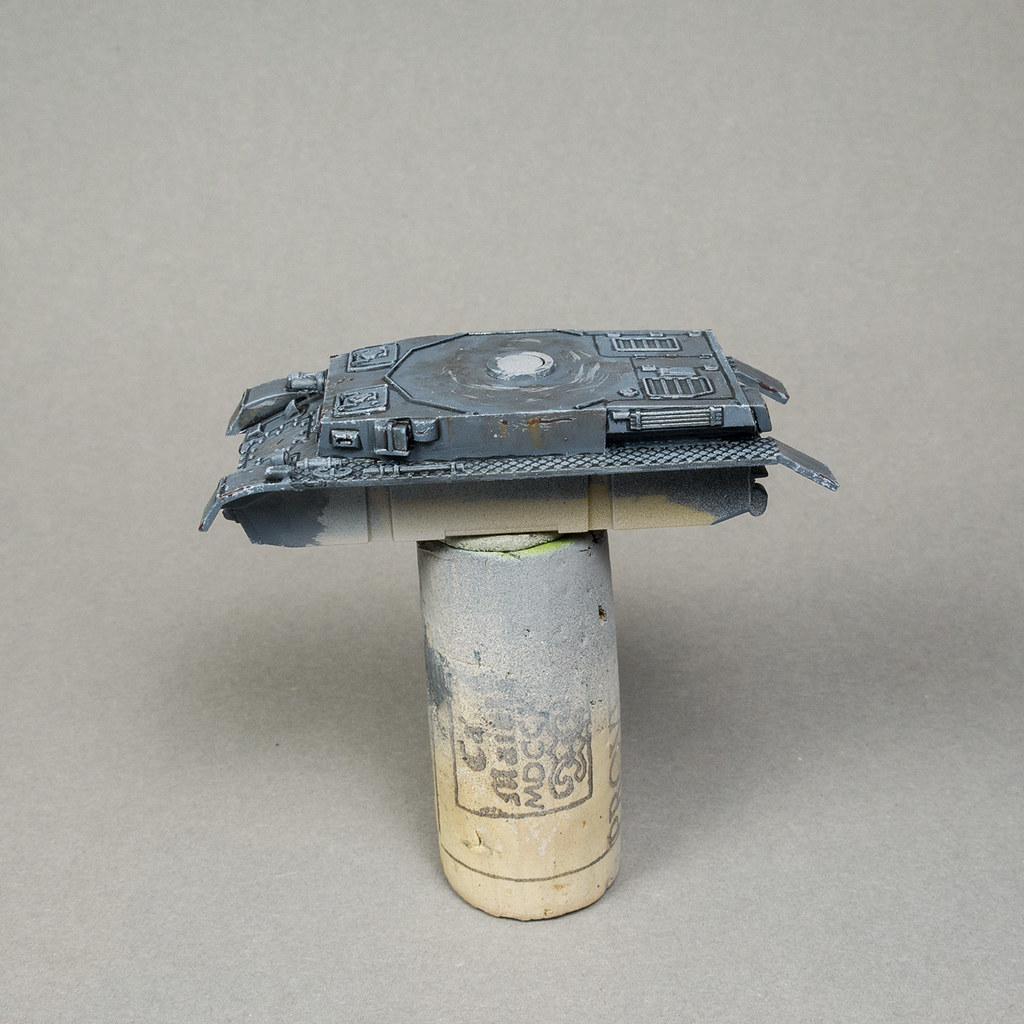
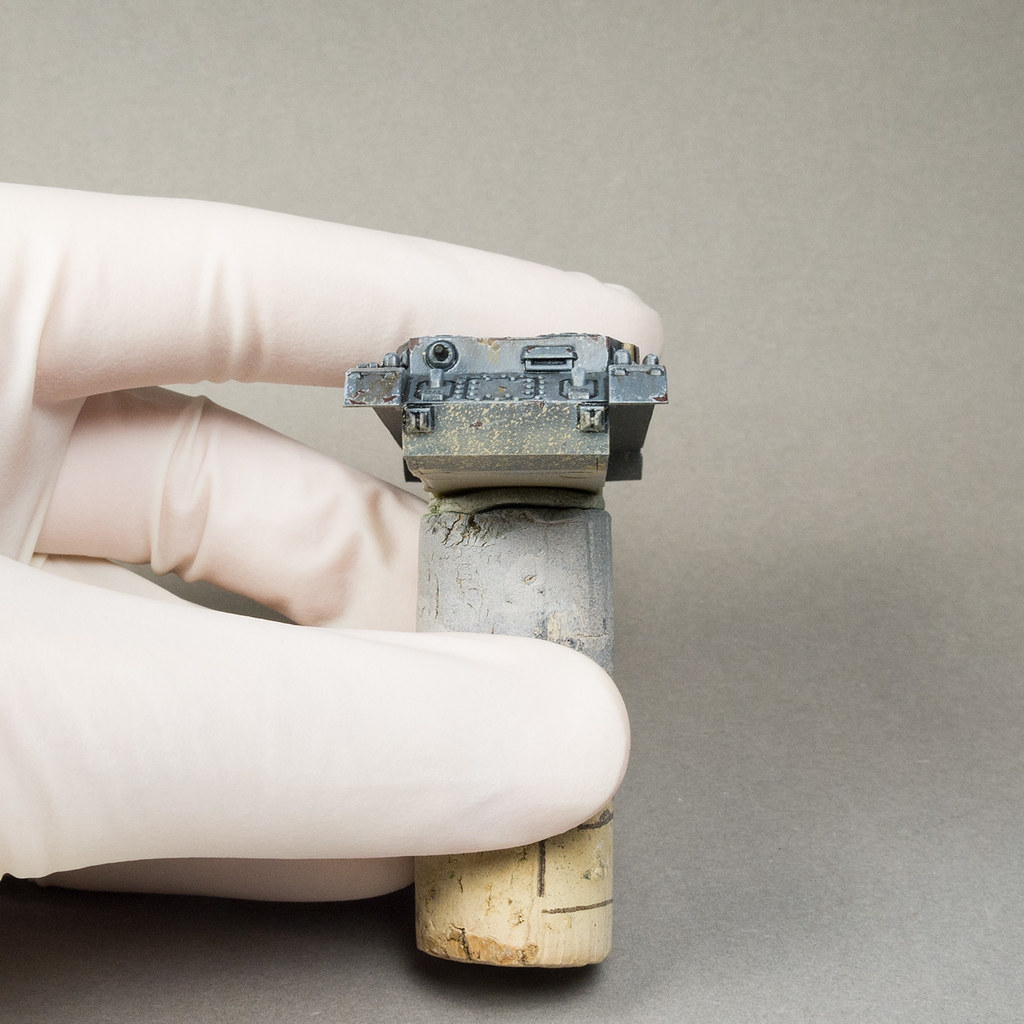
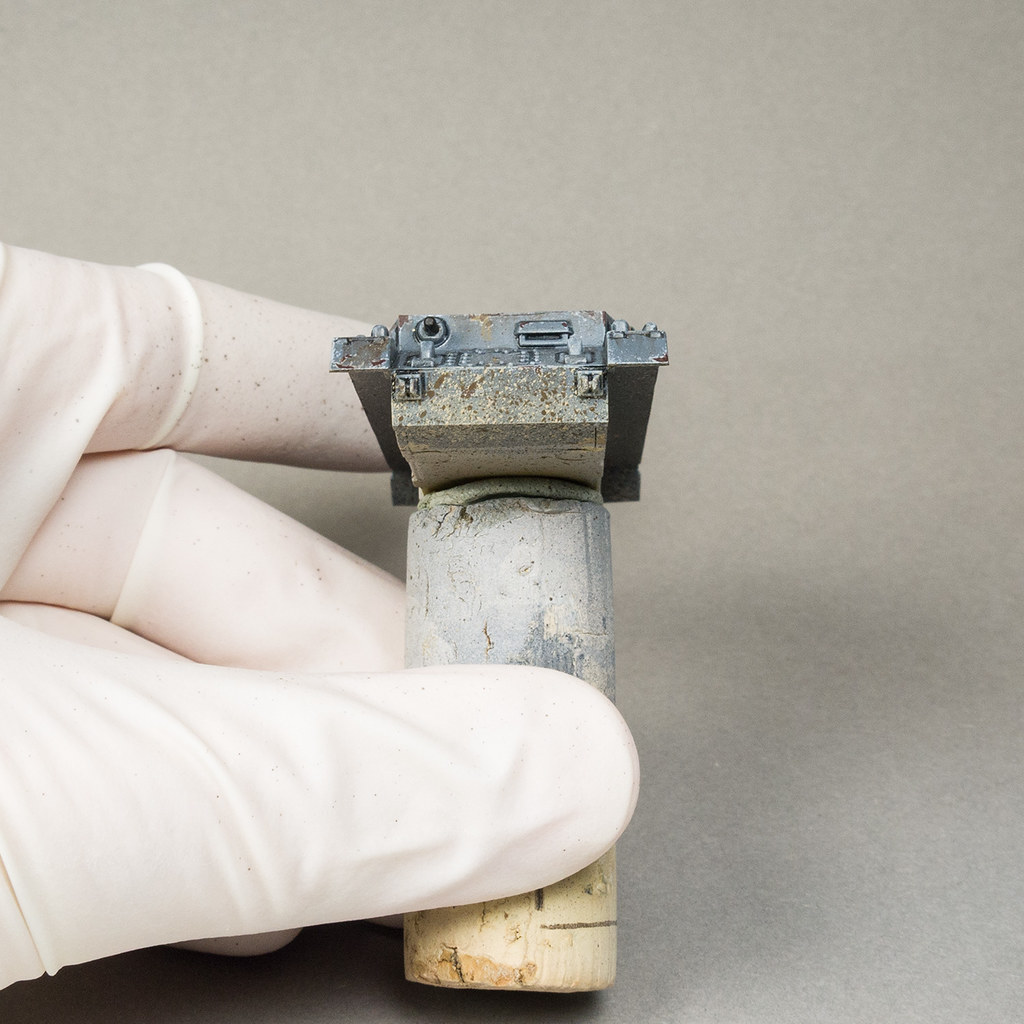
Für den Turm, die Wanne und die Kanone verdünnte ich VMC Germany Grey so stark, dass es sich wie ein Wash verhält. Man kann auch ein wenig Vallejo Thinner hinzufügen um die Pigmente etwas besser zu binden. Ich verteile das Wash nicht auf dem ganzen Fahrzeug sondern “pinwash” nur die tiefen Stellen, wie im obrigen Bild zu sehen ist. Somit muss ich später nicht den ganzen Panzer neu bemalen, wenn ich das Ergebnis des Washes korrigieren möchte. Ebenso kann man einen sauberen und leicht feuchten Pinsel verwenden um das Wash in die Vertiefungen zu schieben, wenn man zu viel aufgetragen hat.
Das Laufwerk wurde mit Citadel Nuln Oil gewashed.
For this step, you have several options. You could use a premade shade like Citadel’s Nuln Oil, Army Painter Shades, or one from Battlefront (which I guess is Army Painter), or you can make your own wash. I made a mixture of both to show you the different results. By the way, I am a huge fan of the new Citadel Shades; they are really good.
For the turret, hull, and barrel, I diluted VMC German Grey so that it acts like a wash. You should also add some Vallejo Thinner to bind the pigments better, just a few drops. I don’t wash the whole tank, I just “pinwash” the deep areas, as shown in the picture above. This way, I don’t have to repaint the entire tank. You can use a clean and moistened brush to push the wash where you want it if you applied too much in one area.
I washed the track wheels with Nuln Oil, and you can see the results in the pictures below.
STEP 04
Step 04
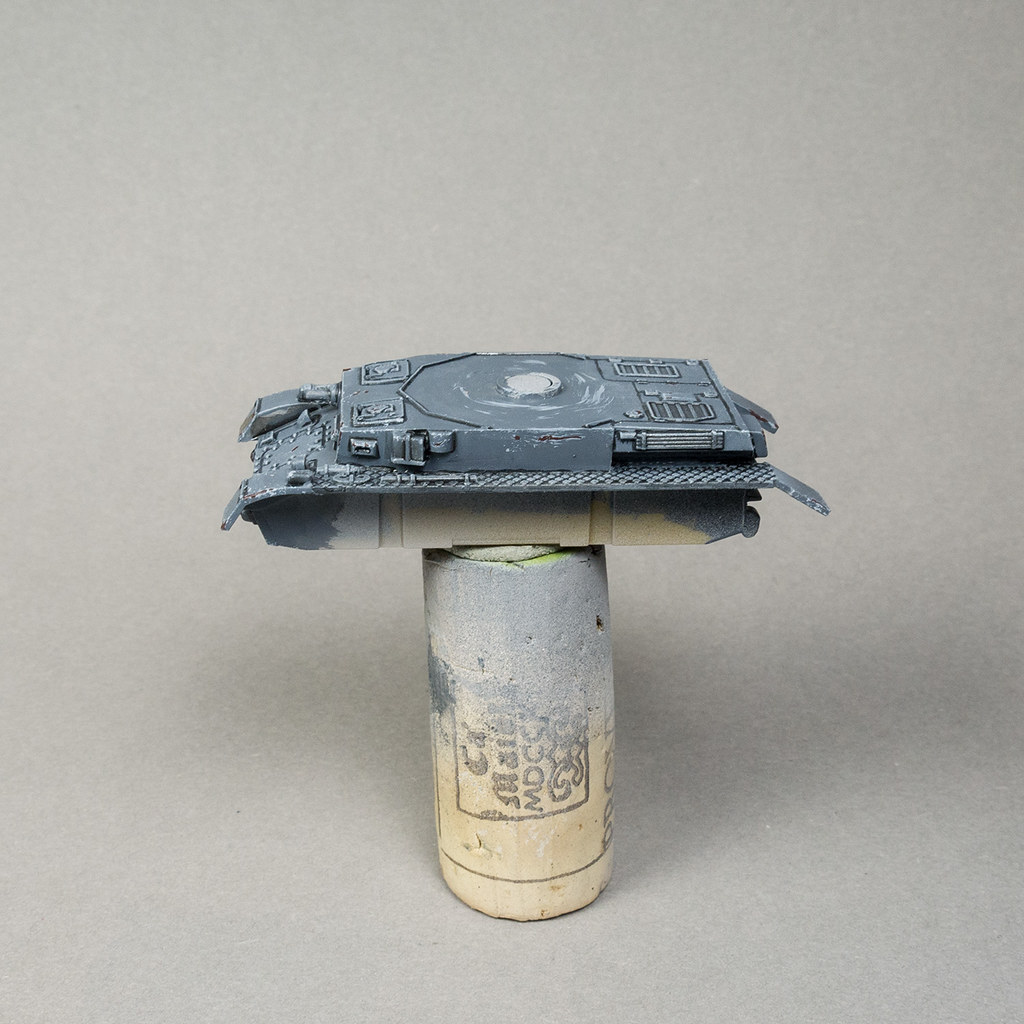
Es ist nun an der Zeit die Sauerei die wir mit dem Wash angestellt haben zu säubern. Dafür wird wieder VMC London Grey und ein feiner Pinsel verwendet. Nieten und Kleinteile müssen nicht ausgebessert werden. Dies wird mit dem nächsten Schritt vollständig erledigt. Wie man sehen kann hat der Glanzlack die Grundfarbe stark abgedunkelt. Sobald aber ein Satin- oder Mattlack aufgetragen werden, wird der Kontrast so gut wie verschwinden. Um aber auf Nummer sicher zu gehen kann man auf die Korrekturstellen noch eine Schicht Glanzlack auftragen. Ich trug lediglich Satinlack (Seidenmattlack) auf was ganz gut funktionierte.
Time to clean up the mess we made with the wash. For that we use VMC London Grey again. Use a fine brush for that and don’t paint any rivets, the next step will cover that way more easily. As you might see the gloss varnish darkens our base color and the new applied color looks way brighter. After you applied a Satin Varnish the dark color gets brighter again and you wont have so much contrast anymore. But to get really sure you also can apply another layer of gloss varnish on your “corrections” and after that the satin varnish. I just applied satin varnish and it worked quite well.


STEP 05
Step 05
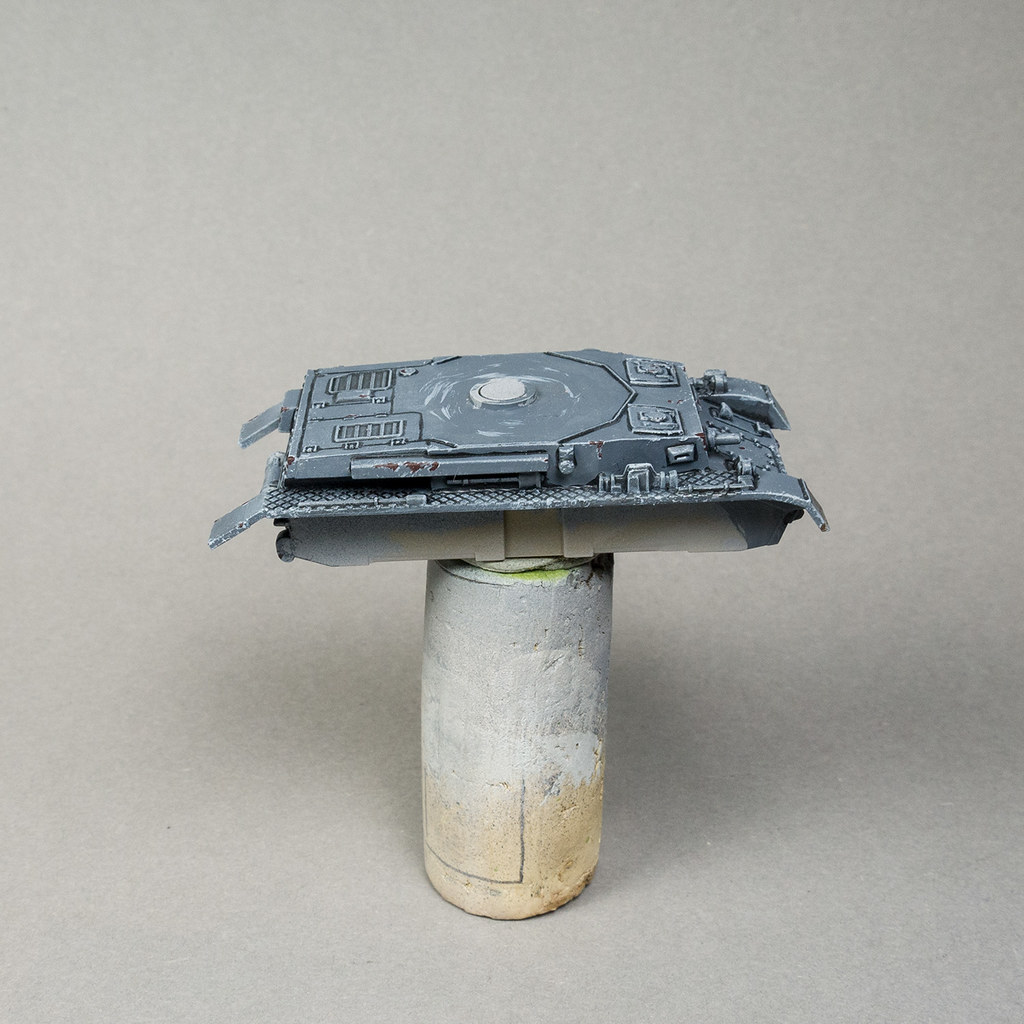
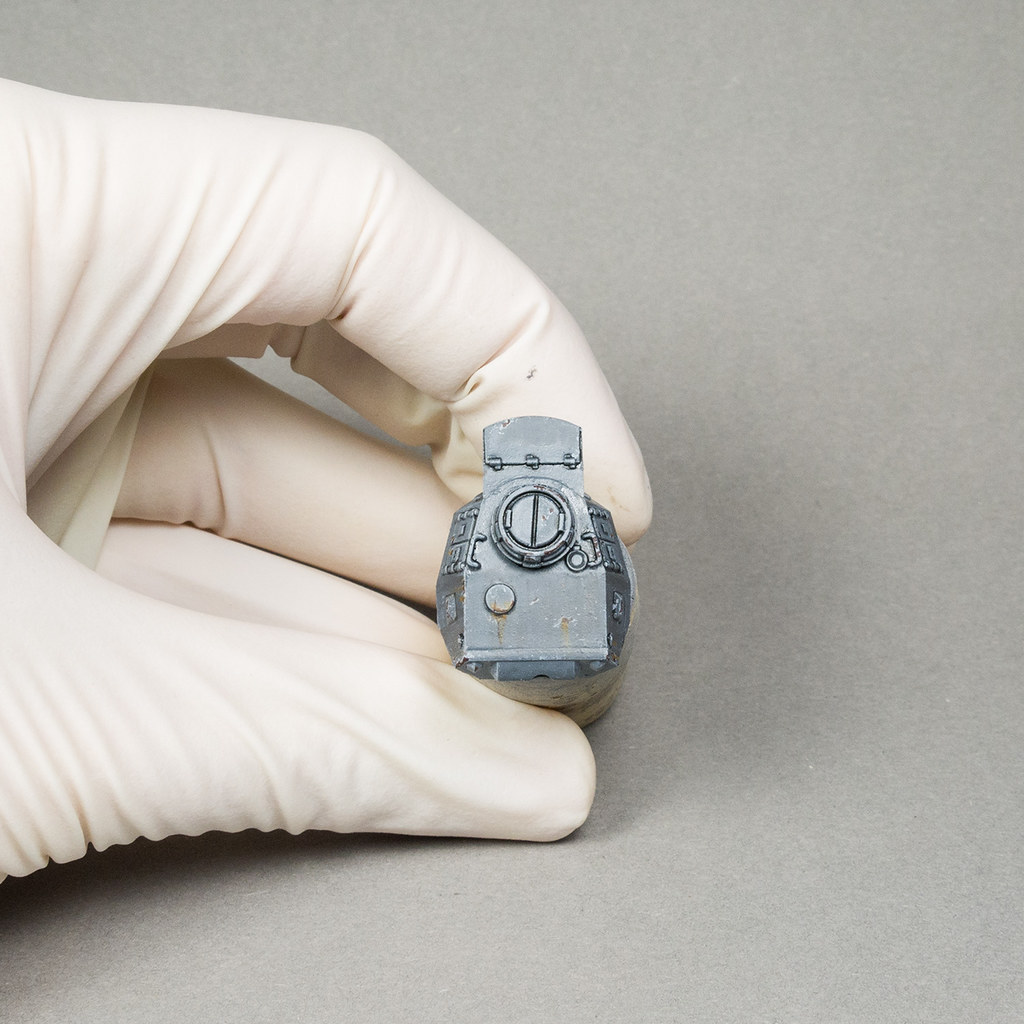
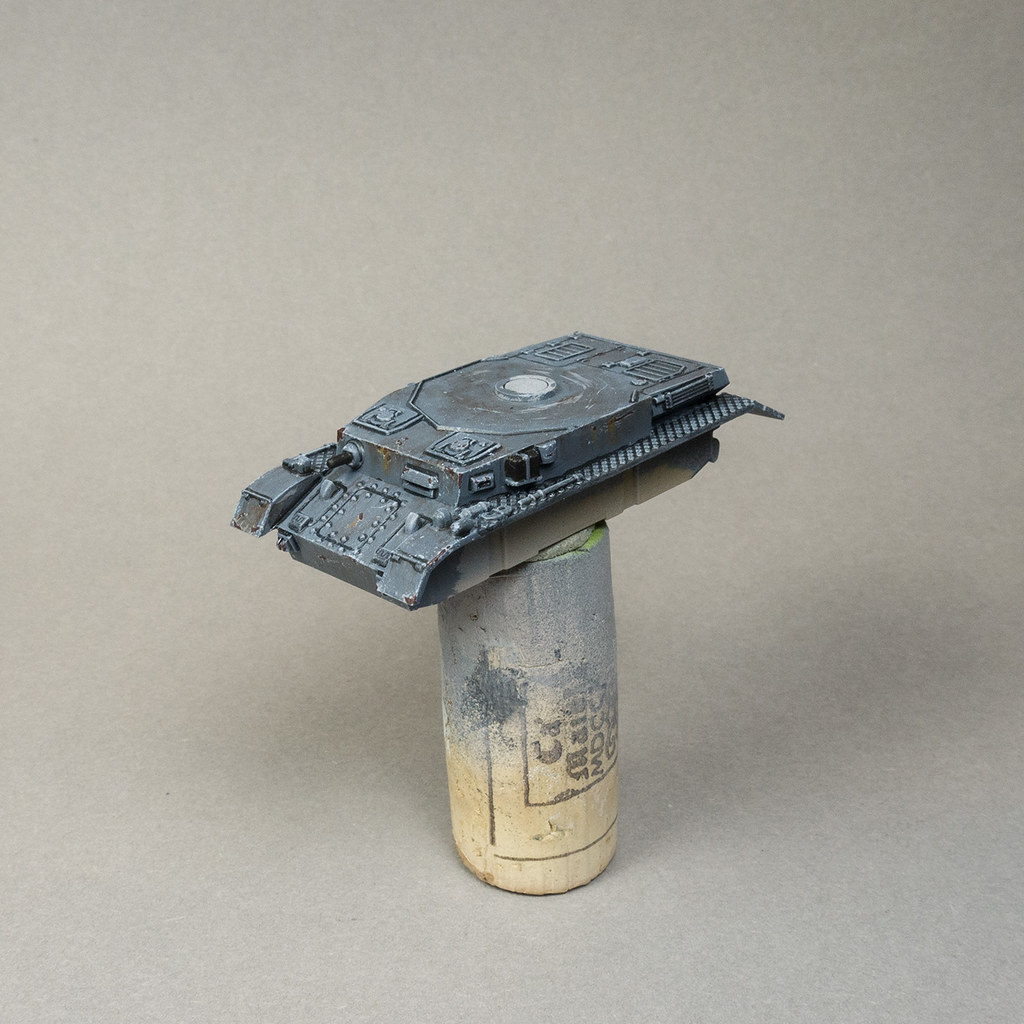
Dieser Schritt ist recht einfach. Nachdem der Seidenmattlack trocken war wurde der gesamt Panzer mit VMC Light Grey (990) trocken gebürstet. Das Ergebnis sieht schon sehr gut aus.
When the satin varnish is dry we can continue painting our tank. This step is really easy we just drybrush the entire tank with VMC Light Grey (990). Looks already quite well to me.

STEP 06
Step 06
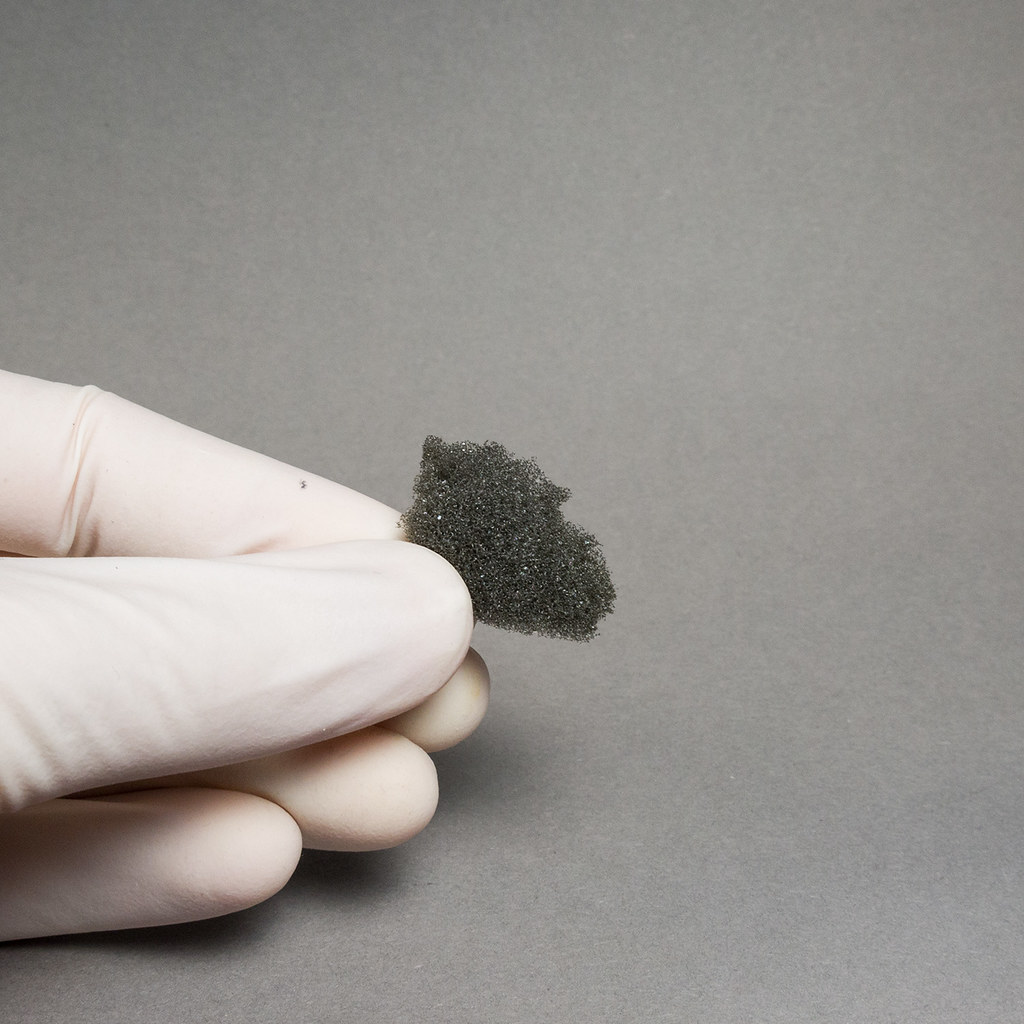
Um dem Fahrzeug etwas mehr Charakter zu geben fügen wir etwas Verwitterung hinzu. Was wäre zu dem ein Panzer ohne Absplitterung/Chipping. Um das zu erzielen benutzte ich den Schaumstoff aus den Blisterpackungen und vermischte VMC Light Grey mit etwas Weiß. Die Farbe darf nicht so stark wie sonst verdünnt werden. Tauche den “Schwamm” darin ein und entferne etwas Farbe an einem Küchentuch. Tupf dies danach auf den Panzer. Das kann willkürlich passieren oder gezielt. Am besten eignen sich die Kanten. Es mag komisch klingen wenn ich das sage aber man sollte versuchen es nicht zu übertreiben mit dem Chipping.
To give our tank a little bit more character we add some weathering to it and what would be a good World War Two tank without some chipping. For that we take a piece of foam (I use the foam from the blisters) and mix VMC Light Grey and White together. Don’t dilute the color to much just a few drops of water are enough. Dip the foam into the color, wipe some of on a kitchen towel and apply it random on the tank. I know I shouldn’t say that but try not to overdo it.
STEP 07
Step 07
Nach der “leichten” Absplitterung füge ich schwere Einschläge hinzu. Hierfür mischte ich VMC Hull Red (985) mit Schwarz zusammen (3:1). Da der Schaumstoff nicht so gut kontrolliert werden kann benutze ich einen feinen Pinsel und male die tiefen Einschläge in die leichten hinein.
After the light chipping from the previous step we add some “heavy chipping”. I mixed VMC Hull Red (985) and Black together (3:1). We don’t use the foam again instead we take a fine detail brush and paint these deep scratches into the light chipping.
STEP 08
Step 08
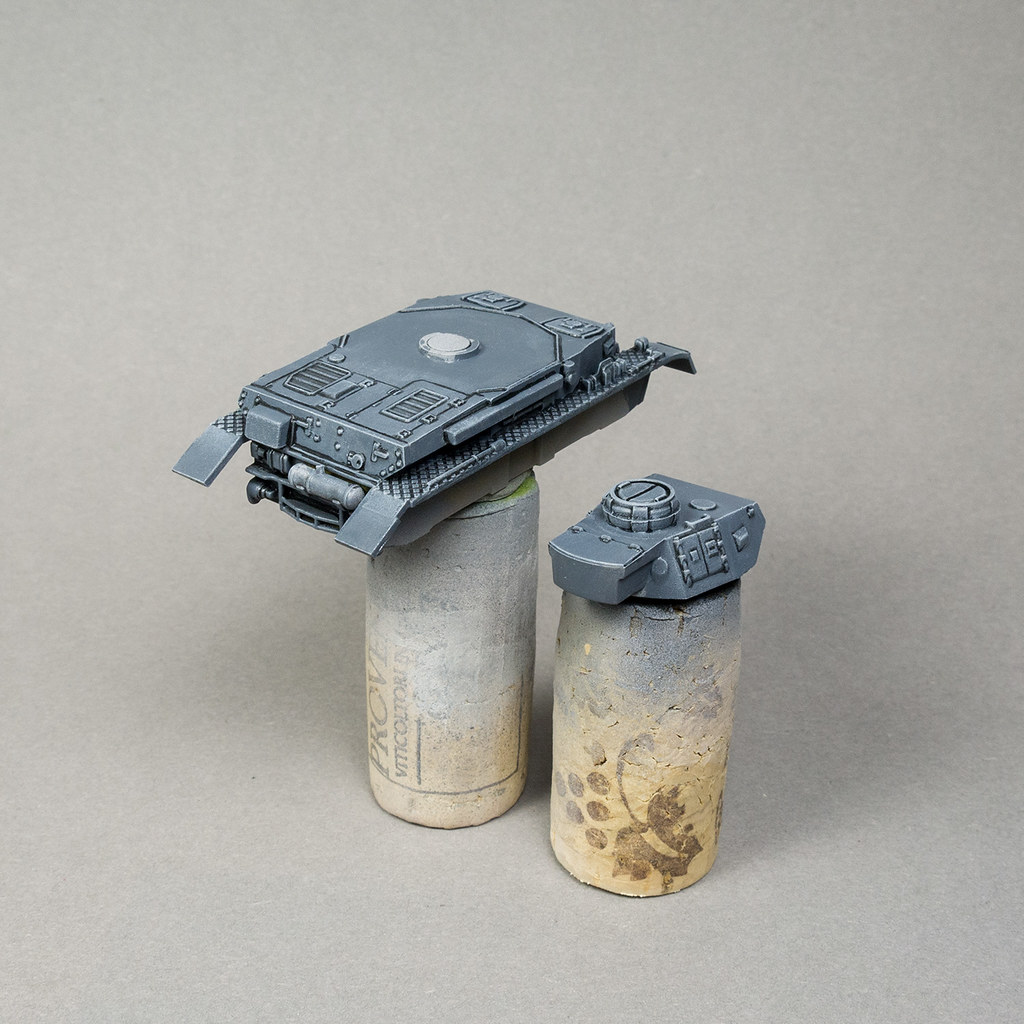
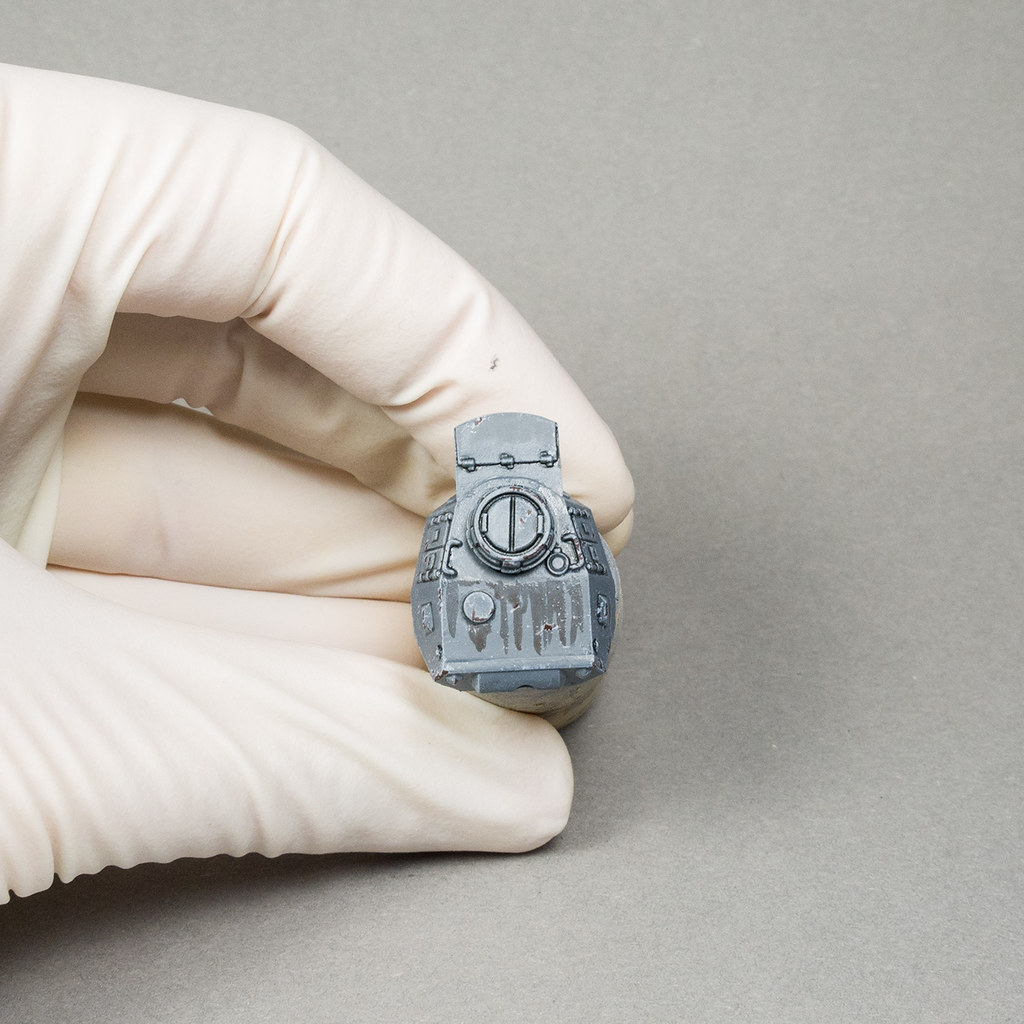
Nun kommen wir zum schwierigsten Teil der Verwitterung, dem verlaufenden Dreck und Rost. für die Dreckschlieren benutzte ich VMC German Camo Black Brown (822) und mischte es mit ein wenige Retarder (3:1). Danach malte ich die Schlieren in Streifen (siehe oben) auf die Oberflächen wo ich den Dreck haben möchte. Dies lasse ich etwas antrocknen und streife dann einen sauberen und feuchten Flachpinsel über die Schlieren. Damit verwischen die Streifen und wirken natürlicher. Am besten streift man den Pinsel in die Richtung in der der Dreck laufen soll. Wenn man mit dem Ergebnis nicht zufrieden ist kann man entweder nochmal darüber gehen, diesmal aber in die entgegengesetzte Richtung. Natürlich kann man den ganzen Prozess auch nochmal wiederholen um die Wirkung zu verstärken.
Now we come the most difficult part of the weathering which is the streaking grime and the rust. For the regular streaks I use VMC German Camo Black Brown (822) and mix it with a little bit of retarder (3:1). Then I paint streaks on the surface where I want the dirt (picture above). Let the streaks dry a few seconds and then use a light moistened flat brush to blur the lines by moving the brush into the direction where the streaks are running. If you aren’t happy with the result you can use the flat brush again and move it into the opposite direction (I did that on the turret). You also can repeat all of it on a surface which intensifys the streaks.


STEP 09
Step 09
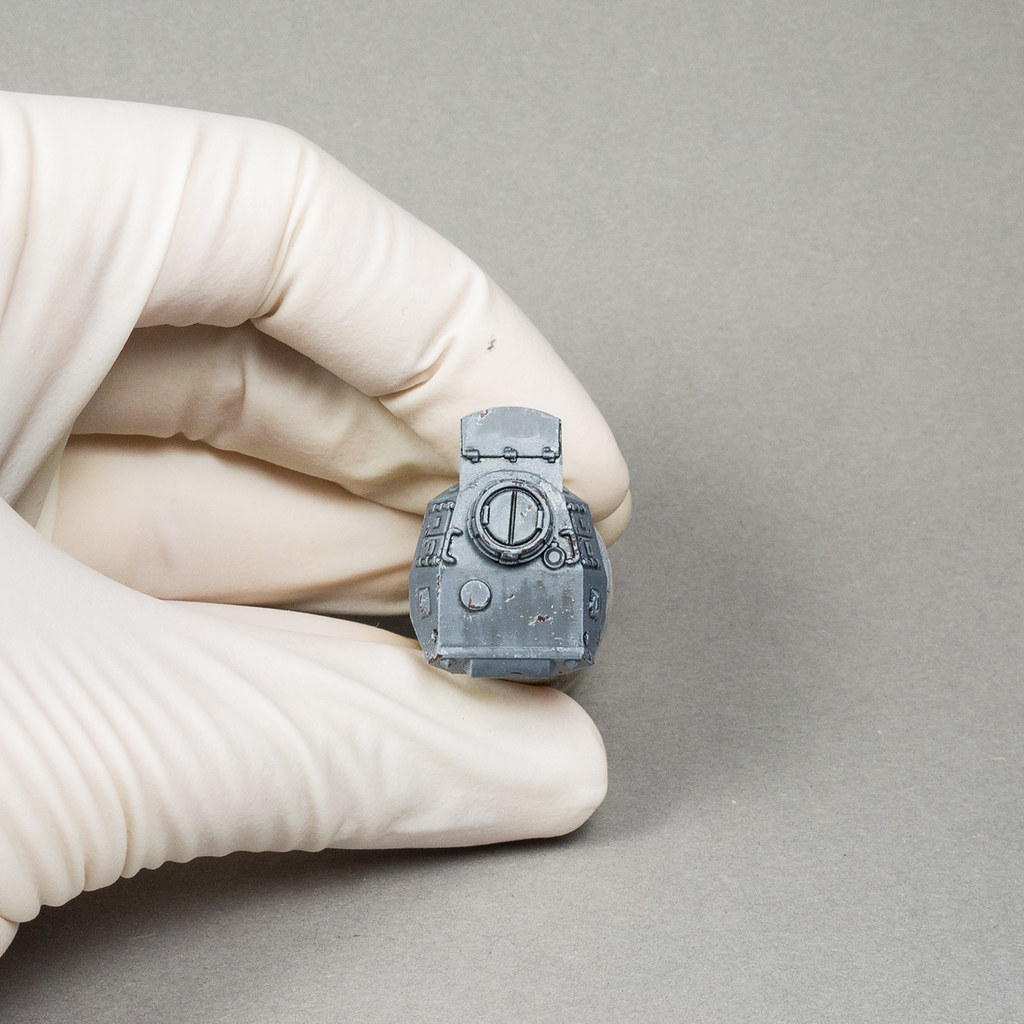
Bevor wir den Rost auftragen empfiehlt es sich die Dreckschlieren gut durchtrocknen zu lassen. So gehen wir auf Nummer sicher, dass wir unsere Arbeit nicht verwischen. Die Rostschlieren werden genauso aufgetragen wie die Dreckschlieren aus Schritt 8, nur verwenden wir dazu VMC Orange Brown (981) mit einem Tropfen Retarder. Man kann auch etwas von der Dreckfarbe hinzumischen, damit es nicht ganz so hell wirkt.
Before we add the rust streaks it is recommended to let the grime dry a few hours so you don’t wipe off your previous work. We apply the rust streaks the same way we applied the streaking grime. I used VMC Orange Brown (981) with a drop of retarder. You also can add some of your streaking grime mixture so it fits better.
STEP 10
Step 10
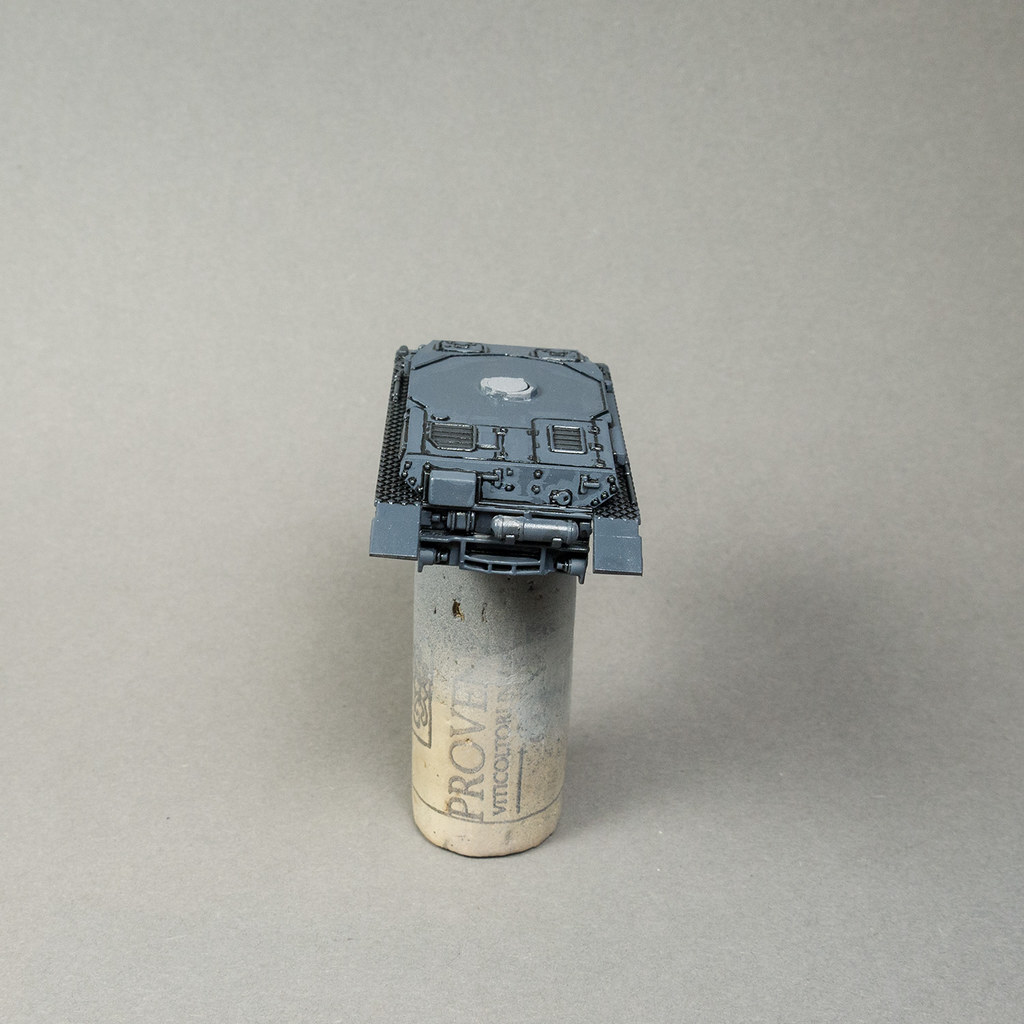
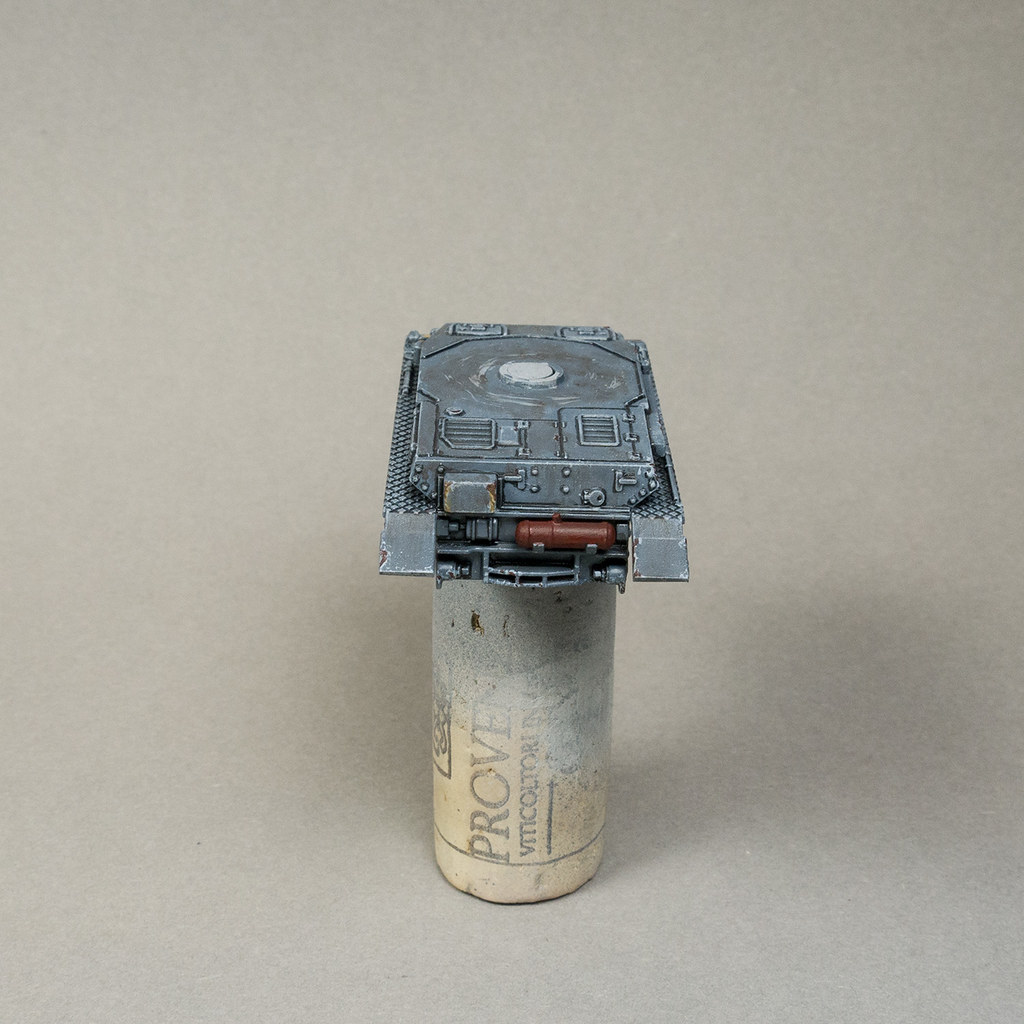
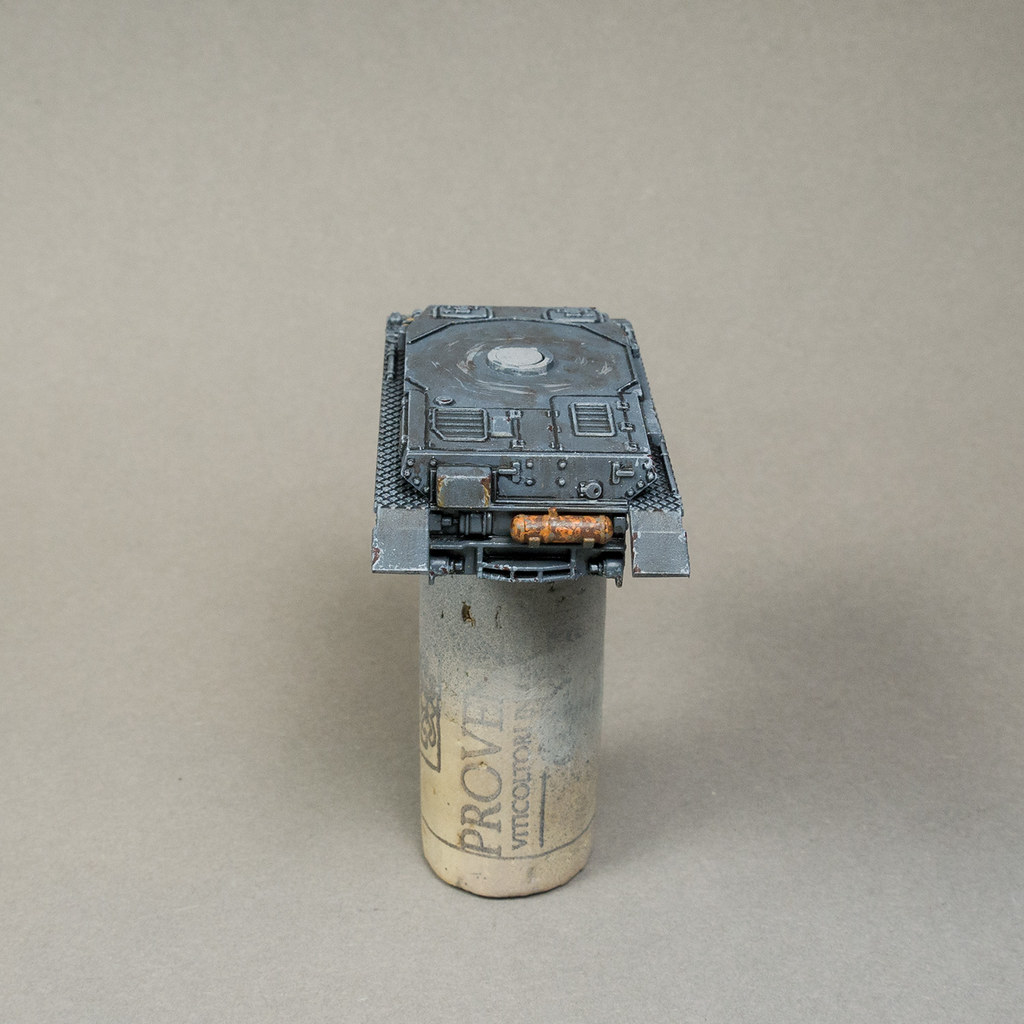
Um die Wanne abzuschließen wurde der Auspuff in VMC Hull Red bemalt. Wenn man es schnell möchte, kann man den Auspuff so lassen, vielleicht noch mit einem Wash versehen. Wenn man es etwas rostiger mag kann man VMC Orange Brown und VMC Light Brown darauf tüpfeln. Zum Abschluss folgt noch etwas VMC London Grey.
To finish the hull I painted the exhaust VMC Hull Red. If you want it quick you just can apply a wash and keep it that way. If you want more rusty character you can stipple VMC Orange Brown and VMC Light Brown on it. After that you can add some VMC London Grey to it.
STEP 11
Step 11
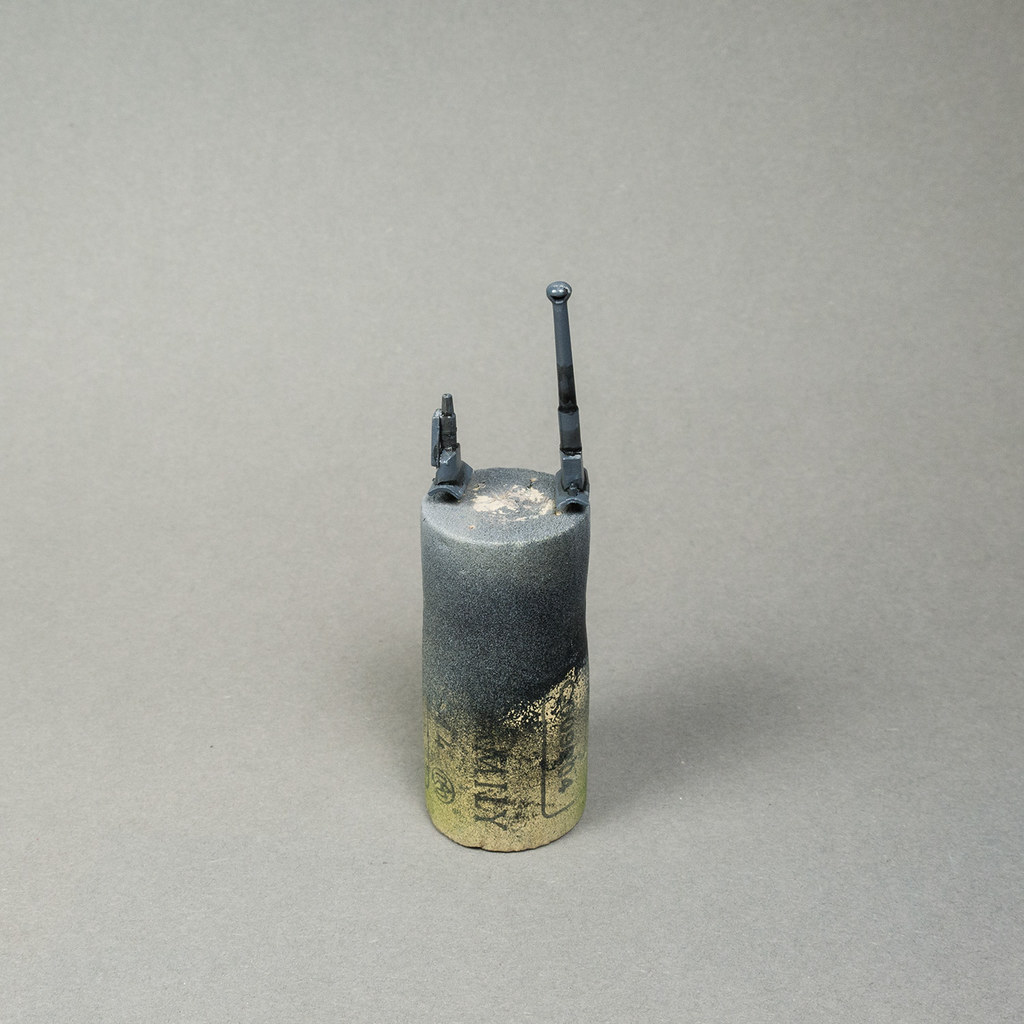
Die Ketten und Laufwerkgummierung wurden Schwarz grundiert. Auch das Wannen-MG und die kleine Box wurden schwarz grundiert.
Paint the tracks and the rubber tires black. Also paint the little box and the MG on the hull black.
STEP 12
Step 12
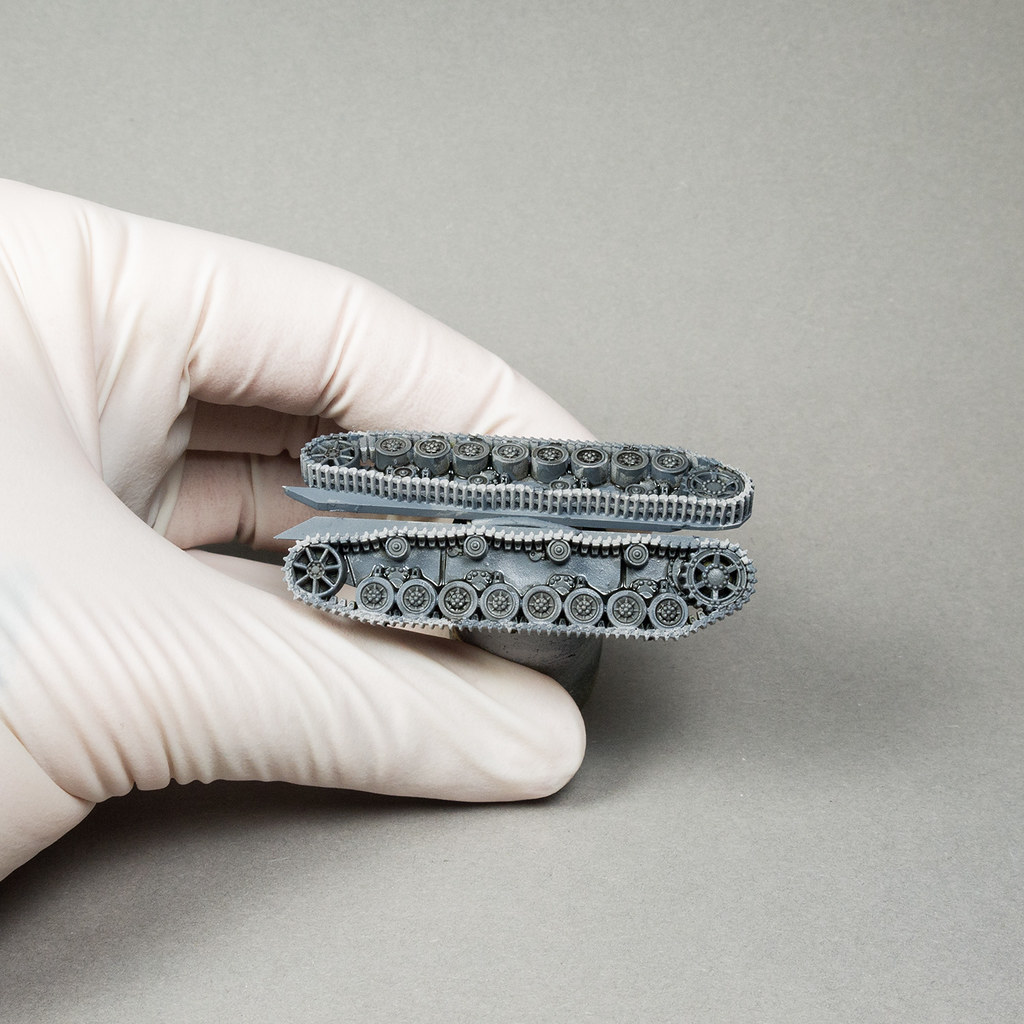
Ich trug ein Wash aus German Camo Black Brown auf die Ketten auf. Natürlich kann man auch die Dreckfarbe verdünnen und für die Ketten verwenden.
Apply a VMC German Camo Black Brown Wash on the tracks. You can use your streaking grime mixture for it, just add a little bit more water to it.
STEP 13
Step 13
Die Ketten wurden mit VMC Medium Grey trocken gebürstet. Auch die unteren Bereich der Wanne und das Laufwerk können damit gebürstet werden.
Drybrush the tracks with VMC Medium Grey. You also can drybrush the lower areas of the hull with it.
STEP 14
Step 14
Um noch mehr Verwitterung aufzutragen wurde VMC Medium Grey auf die unteren Bereiche der Wanne gespritzt. Dazu bentutze ich einen Stupfpinsel. Eine alte Zahnbürste oder ein Borstenpinsel funktionieren aber auch. Für frischeren Schlamm kann man etwas VMC Chocolate Brown oder VMC German Camo Black Brown darauf spritzen. VMC Flat Earth, VMC Beige Brown oder VMC Burnt Umber sind ebenfalls gue Farben für diesen Schritt.
To add more weathering to the hull we splatter some VMC Medium Grey on the lower parts of the hull. I use a special stipple brush for that, but you can also use an old toothbrush or a bristle brush. For some fresh mud you can splatter some VMC Chocolate Brown over the Medium Grey. Other good colors for that would be VMC German Camo Dark Brown, VMC Flat Earth, VMC Beige Brown or VMC Burnt Umber. It just has to be darker then Medium Grey.
STEP 15

Step 15
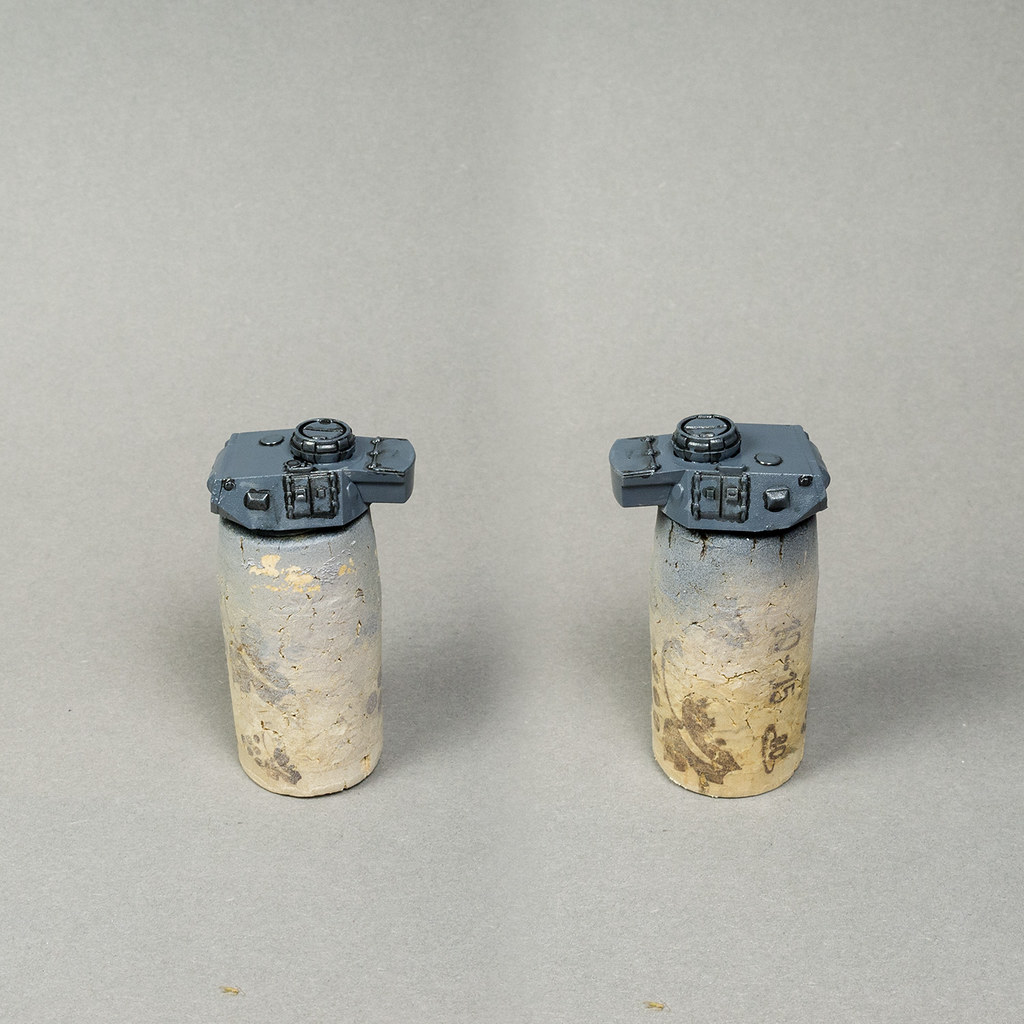
Zum Abschluss bemalte ich die kleine Box mit VMC Beige Brown aber es geht auch jeder andere Braunton. Wer möchte kann nun auch das Werkzeug bemalen. Ich tat dies nicht um das Tutorial einfach zu halten. Des Weiteren hab ich jetzt schon öfters gelesen, dass die Panzercrews auch einfach über die Werkzeuge lackierten damit diese die gleichen Farben haben wie der Panzer. Es ist aslo nichts verkehrt darin, die Werkzeuge einfach Grau zu lassen. Für den Schutz der Figur habe ich zum Schluss noch eine Schicht Mattlack aufgetragen.
Paint the little box VMC Beige Brown or another brown tone of youe choice. If you want to you can paint the tools. I don’t to keeps things as simple as possible. And besides that, I heard quite often that the German tank crews (or tank crews in general) just painted over the tools so they had the same color as the tank. So it is nothing wrong with keeping the tools grey.
To finish the job apply a coat of matt varnish and assemble your tank.

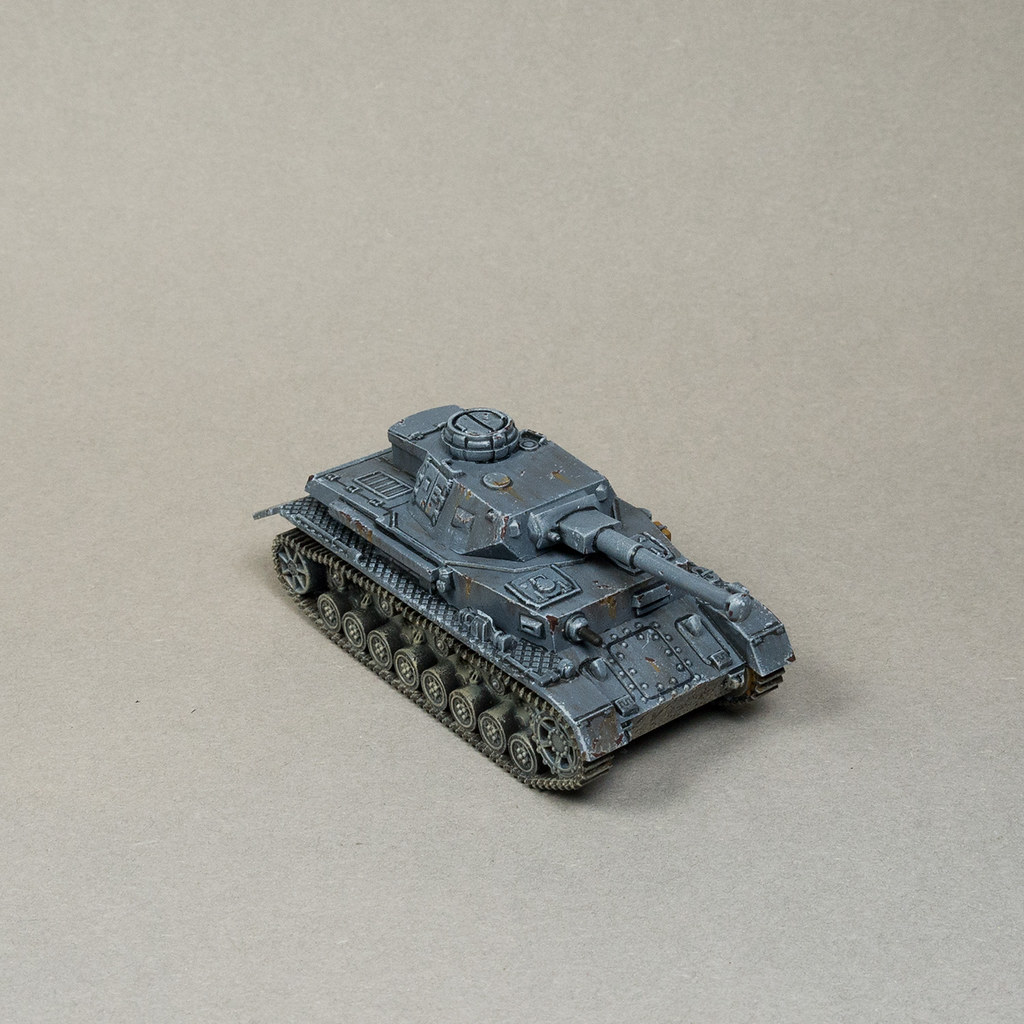
Ich weiß zwar nicht was ihr so denkt aber ich bin ziemlich zufrieden mit dem Ergebnis und das Einzige was wirklich lange gedauert hat war das Warten bis der Schutzlack oder das Weathering trocken war. Ich hoffe ihr fandet dieses Tutorial hilfreich und hattet Spaß beim lesen. Glaubt mir jeder kann das schaffen und es ist nicht so schwer wie es aussieht. Wenn man sich wegen der Verwitterung/Weathering nicht sicher ist, kann man es auf der Unterseite des Panzers probieren bevor man es richtig anwendet.
I don’t know what you think but in my eyes I am happy with the result and the only thing that takes really time is waiting for the varnish and the weathering to dry. I hope you enjoyed this tutorial and that it helped you a bit. And believe me everyone can do that it is really easy. If you are not sure about the weathering just try it on the bottom of your tank.
List of Colors
Citadel
Nuln Oil
Vallejo
London Grey (836)
Germany Grey (995)
Light Grey (990)
Hull Red (985)
German Camo Black Brown (822)
Retarder (597)
Orange Brown (981)
Light Brown (929)
Medium Grey (987)
Chocolate Brown (872)
Beige Brown (875)